

1. Understanding Aluminum Pergola Pricing
When planning to add a new outdoor structure, understanding the cost of an Aluminum Pergola is essential to budget accurately and avoid surprises. Costs fluctuate depending on several practical factors, from size and materials to roof type and additional accessories. Here’s a detailed breakdown of what typically affects pricing.
1.1. Factors Influencing Cost: Size, Style, and Materials
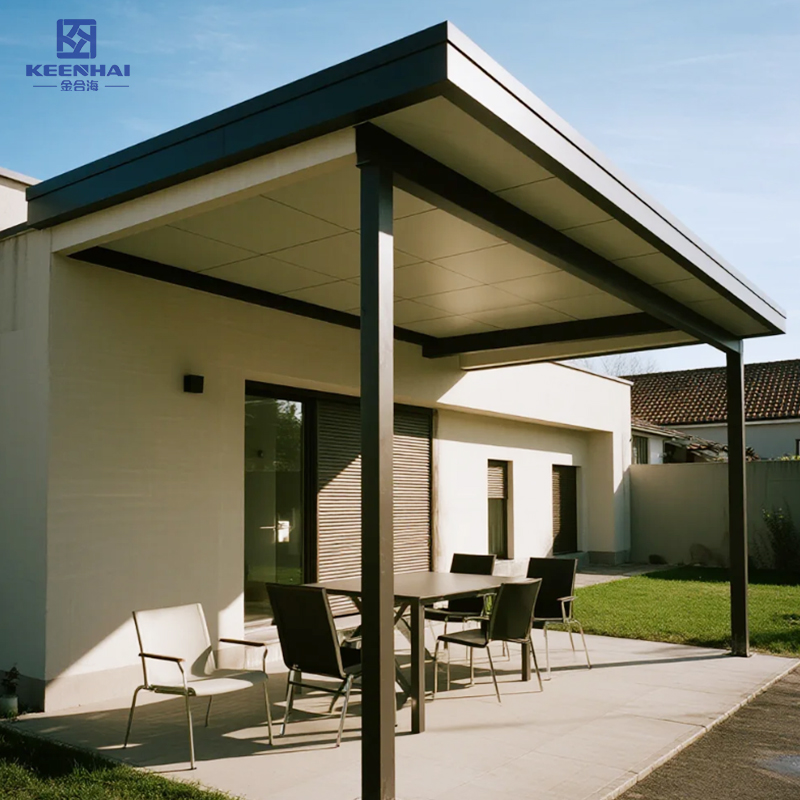
The overall size of the pergola is one of the most significant cost drivers. A small 10x10 ft patio pergola may cost significantly less than a 20x20 ft garden pergola due to both material volume and installation complexity. Beyond size, the style you choose—freestanding, attached, or integrated with other structures like a custom aluminum pergola house impacts both labor and material needs.
Material selection also plays a major role. High-grade aluminum with corrosion-resistant powder coating will increase upfront costs but drastically reduces maintenance compared to standard aluminum frames. For more advanced weather protection, integrating a waterproof aluminum pergola roof can add a premium but ensures year-round usability.
Here’s a quick comparison of typical cost differences based on size and material grade:
| Pergola Size | Standard Aluminum | Premium Aluminum | With Waterproof Roof |
|---|---|---|---|
| 10x10 ft | $2,500 - $3,000 | $3,200 - $3,800 | $4,000 - $4,500 |
| 15x15 ft | $4,000 - $4,500 | $4,800 - $5,500 | $5,800 - $6,500 |
| 20x20 ft | $6,000 - $6,800 | $7,000 - $8,200 | $8,500 - $9,500 |
This table highlights how size and finish directly influence price, giving a clear view of what to expect when planning a mid-range to large project.
1.2. Comparing Quotes from Different Suppliers
Getting multiple quotes is critical. Prices vary not just by material but also by supplier markup, labor efficiency, and warranty offerings. When comparing quotes:
-
Check if the quote includes all components, from frame to roof panels.
-
Confirm labor costs for installation—some suppliers include it, while others charge separately.
-
Verify what warranty is provided on the aluminum frame and coatings.
For larger projects, especially if incorporating custom features like motorized louvers or retractable shades, a supplier with a proven track record of handling automated aluminum pergolas may justify a higher upfront cost with reliable installation and service.
1.3. How Roof Type and Accessories Affect Pricing
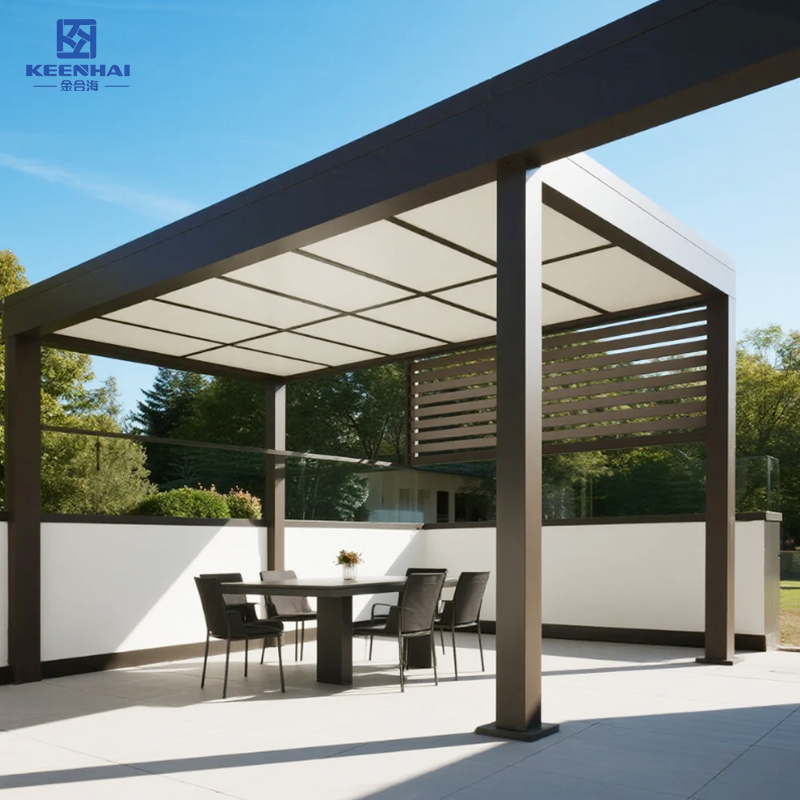
Roof options significantly impact total pricing. A freestanding pergola with a simple open-beam roof is the most affordable, whereas louvered, retractable, or solid roofs increase costs due to extra materials and mechanical components. Similarly, integrated accessories like side screens, built-in lighting, or ceiling fans will add to both material and labor costs.
Here’s a practical breakdown of additional cost estimates for common accessories:
| Feature | Additional Cost | Notes |
|---|---|---|
| Louvered Roof | $1,500 - $2,500 | Motorized options cost more |
| Retractable Gazebo Roof | $2,000 - $3,500 | Ideal for patios needing flexible shade |
| Integrated LED Lighting | $400 - $700 | Depends on number of fixtures |
| Side Screens or Curtains | $300 - $600 | For privacy or wind protection |
Choosing the right combination of roof type and accessories can optimize your budget while enhancing functionality and outdoor comfort.
2. Requesting Accurate Quotes
Getting precise pricing for a pergola starts with clear communication and detailed specifications. A well-prepared request ensures that the quote reflects exactly what you want, helping you avoid unexpected costs later.
2.1. Providing Detailed Measurements and Requirements
Accurate measurements are essential when requesting quotes. Measure the length, width, and height of your intended pergola location, noting any slopes, steps, or uneven ground. Include these specifics:
-
Exact dimensions of the installation area.
-
Desired clearance height for furniture, walkways, or vehicles.
-
Location of existing structures or obstacles that may require custom adjustments.
Adding a simple diagram with measurements makes it easier for suppliers to provide precise estimates. For example, if your design includes a custom aluminum pergola house layout, specifying exact spacing between posts and roof type ensures the quote reflects the complexity of your project rather than a generic estimate.
2.2. Custom vs Standard Pergola Options
Suppliers often provide different pricing depending on whether you choose a standard model or a custom design. Standard pergolas follow typical sizes and finishes, which keeps costs predictable. Custom options, such as irregular dimensions, integrated lighting, or motorized components, increase material and labor requirements.
| Pergola Type | Typical Cost Range | Key Considerations |
|---|---|---|
| Standard Aluminum Pergola | $2,500 - $5,500 | Prefabricated components, fewer customization choices |
| Custom Aluminum Pergola | $5,000 - $12,000+ | Tailored size, style, roof type, and optional automation |
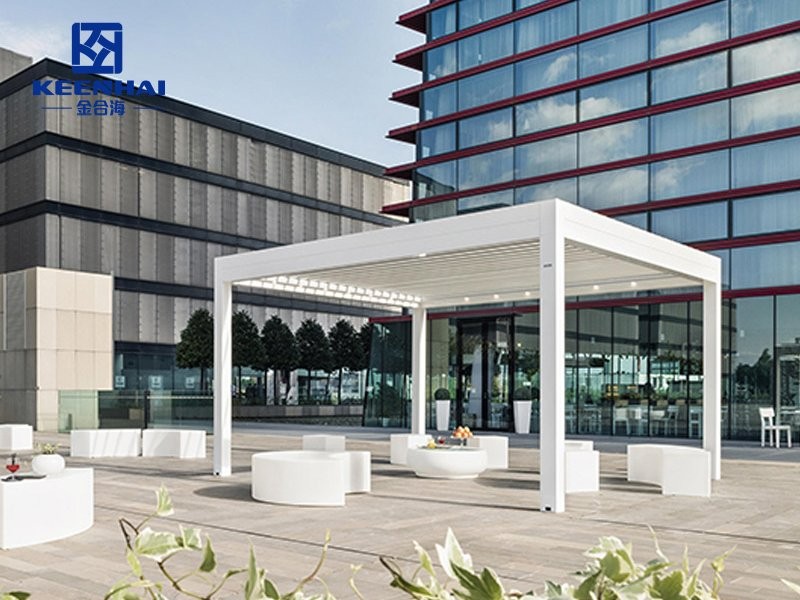
If you plan to include automated features, choosing a supplier familiar with aluminum automated pergolas can save time and prevent installation errors. Keep in mind that even small adjustments to dimensions or roof type can affect both labor and material costs significantly.
2.3. Ensuring Transparent Cost Breakdown
A reliable quote should break down costs clearly to prevent surprises. Ask suppliers to itemize:
-
Materials (frame, roof panels, finishes).
-
Accessories (lighting, side screens, fans).
-
Labor and installation fees.
-
Any additional charges for permits, delivery, or engineering adjustments.
Transparent quotes allow you to compare suppliers effectively, highlighting where extra features or premium materials impact the price. For instance, retractable roofing or waterproof panels can add significant value, but knowing the exact cost helps you weigh benefits against your budget.
Always review each component and ask questions if a line item seems unclear. This approach ensures the final project aligns with expectations, both visually and financially.
3. Choosing the Right Supplier and Installer
Selecting the right supplier and installer is critical to ensure your pergola meets expectations in quality, durability, and finish. The process begins with careful research and comparison to avoid costly mistakes.
3.1. Evaluating Experience and Reputation
Look for suppliers with a proven track record of delivering high-quality aluminum pergolas. Check how long they’ve been in business, read customer reviews, and review completed projects. Suppliers who specialize in custom designs, such as Keenhai Aluminum Pergola, often have deeper expertise in tailoring dimensions, finishes, and roof types.
When evaluating installers, ask:
-
How many pergola installations they’ve completed in the past year.
-
Whether they have experience with the specific type of pergola you want (freestanding, attached, louvered, or automated).
-
References or photos from past projects that demonstrate quality and attention to detail.
A supplier with a strong reputation ensures the installation runs smoothly and the final product meets your expectations.
3.2. Verifying Material Quality and Warranty
Not all aluminum pergolas are created equal. Request details about aluminum grades, powder-coated finishes, and corrosion resistance. Make sure the supplier provides a warranty that covers materials and workmanship.
Key steps to verify quality:
-
Confirm the alloy type and thickness used for posts and beams.
-
Ask about roof panel materials (polycarbonate, waterproof panels, or louvered systems).
-
Review warranty terms for both standard components and custom features.
Choosing a supplier who backs their product with a solid warranty reduces long-term maintenance costs and ensures the pergola retains its appearance over time.
3.3. Installation Services vs DIY Options
Installation can be handled by professionals or as a DIY project. Professional installation guarantees precise assembly, proper anchoring, and correct roof alignment. For example:
-
Professionals ensure that posts are leveled and secured to the foundation correctly.
-
Roof panels, whether solid, louvered, or retractable, are installed according to manufacturer specifications.
-
Optional features such as integrated lighting, fans, or motorized roofs are configured safely.
DIY installation may save money upfront, but it requires advanced skills, precise tools, and knowledge of structural requirements. For most homeowners, hiring an experienced installer from a reputable supplier like Keenhai Aluminum Pergola ensures efficiency, safety, and longevity of the structure.
4. Preparing Your Site for Installation
Proper site preparation ensures that your aluminum pergola is installed safely, level, and stable. Skipping these steps can lead to alignment issues or structural problems over time, so investing time upfront is essential.
4.1. Ground Preparation and Foundation Considerations
A solid foundation is critical for stability. Start by:
-
Clearing the area of grass, rocks, or debris to create a flat surface.
-
Measuring and marking the pergola footprint accurately using stakes and string.
-
Excavating holes for posts according to manufacturer specifications, typically 18–24 inches deep, depending on pergola height and soil type.
-
Pouring concrete footings or using pre-fabricated base plates for anchoring posts, ensuring they are perfectly level.
For custom pergolas or larger structures, such as an Aluminum pergola house, additional reinforcement may be required to handle heavier loads or roof accessories.
4.2. Required Tools and Materials on Site
Having the right tools and materials on hand prevents delays and ensures the installation proceeds smoothly. Typical requirements include:
-
Level, tape measure, and chalk line for accurate alignment.
-
Power drill, impact driver, and socket set for fastening posts and roof panels.
-
Concrete, gravel, or anchoring bolts for foundation work.
-
Safety equipment: gloves, goggles, and possibly scaffolding for taller pergolas.
Ensuring all materials are staged and organized before starting reduces interruptions and helps installers focus on precise assembly rather than searching for tools.
4.3. Scheduling and Time Management
Time management is often overlooked but crucial for efficiency:
-
Schedule installation during dry, calm weather to avoid complications with pouring concrete or handling roof panels.
-
Allocate 1–2 full days for small to medium pergolas and 3–4 days for larger or custom structures, including setup, leveling, and finishing touches.
-
Coordinate delivery of materials and confirm installer availability to prevent downtime.
For complex installations involving features like louvered or motorized roofs, such as Aluminum automated pergola systems, additional time should be factored in for calibration and testing.
5. Installation Process and Steps
Installing an aluminum pergola correctly requires careful sequencing to ensure stability, alignment, and functionality. Skipping or rushing any step can compromise the structure and safety.
5.1. Step-by-Step Assembly: From Frame to Roof
Follow these steps for a smooth assembly:
-
Position the posts into the prepared foundation holes, double-checking that each post is plumb using a level.
-
Secure base brackets or anchor bolts, making sure all fasteners are tightened uniformly.
-
Attach cross beams and support braces, ensuring all angles meet manufacturer specifications. Check diagonal measurements for squareness.
-
Install roof supports, whether standard beams, louvered slats, or retractable panels. For automated features, lightly tighten connections until final adjustments are made.
-
Mount roof panels or louvers, following the sequence recommended by the manufacturer to prevent misalignment or panel damage.
For larger structures, like a Aluminum pergola house, it may be beneficial to use temporary supports or scaffolding to maintain stability during roof assembly.
5.2. Integrating Accessories: Lighting, Screens, and Automation
After the main frame is secure, incorporate functional and aesthetic accessories:
-
Run electrical wiring for lights or ceiling fans, ensuring cables are safely routed and protected.
-
Attach side screens, curtains, or weatherproof panels to improve shade and privacy.
-
Install motorized or automated components, such as louvered roofs, ensuring the system operates smoothly and that calibration matches user preferences.
For motorized or retractable units, such as Aluminum automated pergola systems, always test multiple cycles to confirm reliable operation before finishing touches.
5.3. Final Adjustments and Safety Checks
Completing installation involves precision and safety verification:
-
Tighten all fasteners according to torque specifications, ensuring no components shift under load.
-
Check roof alignment and panel spacing to prevent leaks or improper louver movement.
-
Test all electrical and automated functions under normal operating conditions.
-
Inspect structural integrity, making sure posts, beams, and accessories are securely fastened.
Double-checking every detail at this stage prevents costly repairs later and ensures your pergola functions beautifully for years to come.
6. Post-Installation Considerations
Once your aluminum pergola is fully installed, proper maintenance and thoughtful upgrades ensure it lasts for decades while retaining both beauty and functionality.
6.1. Maintenance Tips for Longevity
Regular upkeep keeps your structure looking fresh and performing optimally:
-
Clean the frame and panels at least twice a year with a mild detergent and soft cloth or sponge to remove dust, pollen, and environmental deposits.
-
Inspect fasteners and connections, tightening any bolts or screws that may have loosened due to wind or seasonal changes.
-
Lubricate moving parts on louvered or retractable systems to prevent friction wear and ensure smooth operation.
-
Check for corrosion or finish wear, especially around joints, and touch up powder coating if minor scratches appear.
With a few simple steps, even a Aluminum automated pergola or Aluminum waterproof pergola can maintain peak performance without professional intervention.
6.2. Handling Repairs and Warranty Claims
Despite careful installation, occasional issues may arise. Follow this approach:
-
Document any damage or defects immediately with photos and notes, which is critical for warranty claims.
-
Contact your supplier or manufacturer before attempting major repairs to ensure coverage and avoid voiding the warranty.
-
Replace worn components using genuine parts for longevity, particularly motorized or automated elements.
Proactive monitoring reduces the risk of small problems turning into expensive fixes, ensuring your pergola continues to provide value year after year.
6.3. Enhancing Functionality Over Time
Your aluminum pergola can evolve with your space and lifestyle:
-
Add integrated lighting, ceiling fans, or heaters to extend usability during evenings or cooler seasons.
-
Install side screens, retractable shades, or weatherproof panels to improve comfort and privacy.
-
Upgrade automation systems on louvered roofs to include remote control or smart home integration for convenience.
These enhancements not only improve your outdoor living experience but also increase the overall value and appeal of your property.