

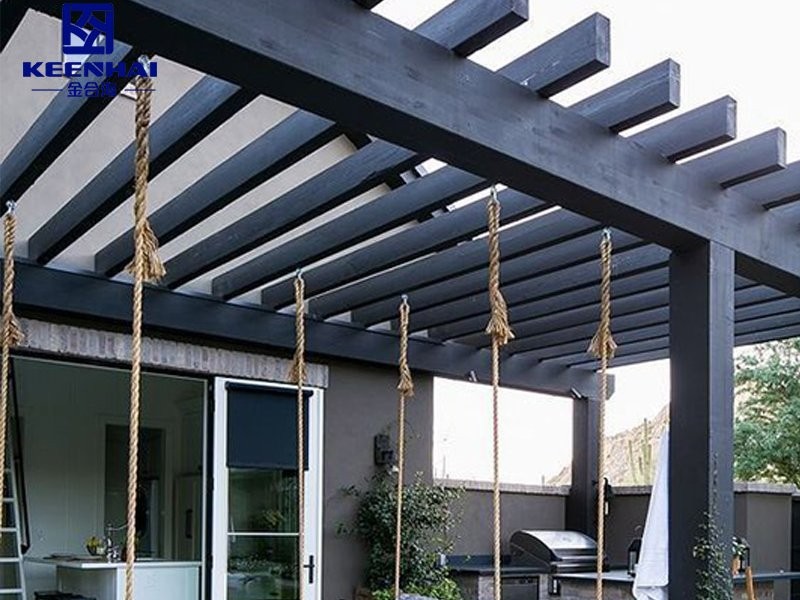
1. Preparing the Site Before Installation
Preparing the installation site is the first critical step for a smooth motorized pergola setup. Start by surveying the entire area, noting any uneven surfaces, obstructions, or low-hanging branches that could interfere with the structure. A properly prepared space ensures that your aluminum motorized pergola aligns perfectly and operates smoothly over time. Skipping this step can lead to uneven posts, strained motors, or water pooling along the base. Take accurate measurements early, mark post positions clearly, and consider sunlight and wind exposure when selecting the exact footprint. A small investment of time at this stage prevents costly adjustments and guarantees the pergola functions reliably for years.
1.1 Measuring the Space Accurately
Accurate measurements prevent misaligned posts, overhanging sections, and functional issues with louvers. Measure the total width and depth, then check the diagonals to confirm the area is square. Differences over 10–12 mm require adjustments using leveling compounds or shims. Mark the post positions with tape or chalk to visualize the footprint before drilling or anchoring. For example, a medium-sized aluminum automated pergola fits seamlessly on a 4×3 meter patio when posts are pre-marked and the surface is level. Accurate measurement also ensures proper clearance for motorized louver operation, avoiding interference with walls, fences, or nearby plants.
1.2 Checking Ground Level and Drainage
A level foundation is crucial for both stability and longevity. Use a spirit level to check the ground across multiple points, and adjust any high or low areas with shims or concrete leveling compound. Ensure the area slopes slightly to facilitate natural water drainage, preventing pooling around posts or motor components. Uneven surfaces can stress the frame, causing misalignment or premature wear of moving parts. A louvered pergola relies on slight slopes for its louvers to channel rainwater efficiently. Proper drainage and leveling also prevent damage to decking or patio surfaces and ensure smooth operation of automated roof panels in wet conditions.
1.3 Ensuring Access to Power Supply
Reliable electricity is essential for smooth motorized operation. Identify the nearest outlet that supports the voltage and amperage requirements of your pergola motor. Plan wiring routes carefully to conceal cables through post cavities or along walls, minimizing visible clutter. Test the outlet beforehand to ensure stable current and avoid motor malfunctions. Integrating your pergola with smart home controls requires precise wiring placement to connect to remote systems. Using a motorized patio cover system allows the louvers to operate seamlessly with remote controls or home automation, ensuring that the pergola functions efficiently while maintaining a clean, organized installation appearance.
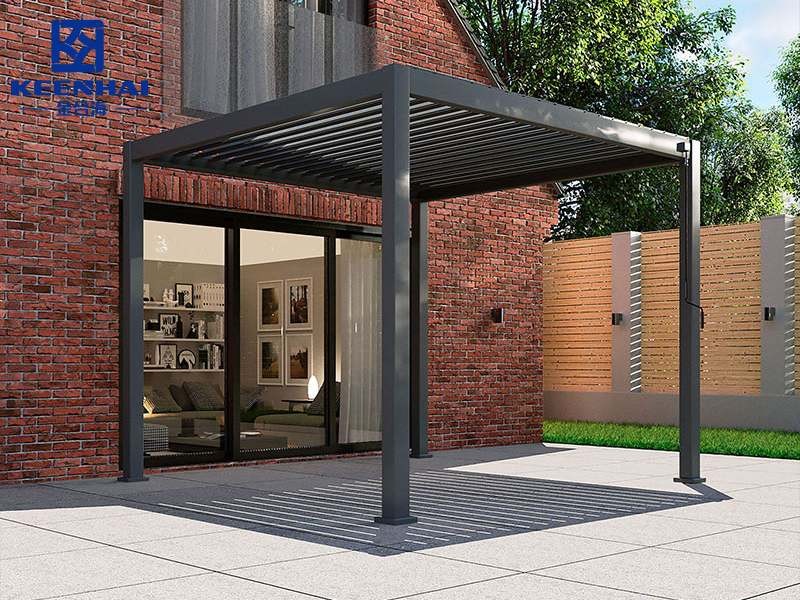
2. Tools and Materials Needed for a Smooth Setup
Having the right tools and materials before you start saves hours and ensures a professional finish. A well-prepared toolkit prevents unnecessary trips back to the store and keeps the installation efficient. Many homeowners underestimate the importance of proper fasteners and precision tools, which can lead to wobbly posts or misaligned louvers. Planning ahead also lets you check compatibility with your motorized system, such as a louvered pergola that requires precise screw lengths and motor alignment. Gathering materials early allows you to organize parts by step, ensuring a smoother workflow during assembly.
2.1 Essential Hand Tools for Assembly
For most motorized pergola installations, the basic hand tools cover 80% of tasks. You’ll typically need:
-
Cordless drill with multiple bits for pre-drilling and fastening screws.
-
Socket wrench set to tighten bolts consistently without stripping hardware.
-
Measuring tape and level to confirm alignment and squareness.
-
Rubber mallet to gently adjust posts and beams without damaging finishes.
Using a precise aluminum automated pergola often requires maintaining tolerance within 2–3 mm, so high-quality hand tools are essential. These tools guarantee that posts stay plumb, beams align perfectly, and the louvers operate smoothly once powered.
2.2 Hardware and Fasteners Required
Correct hardware prevents structural issues and supports long-term durability. Common items include stainless steel bolts, lag screws, brackets, and washers rated for outdoor use. For example, mounting a motorized patio cover requires corrosion-resistant screws that won’t seize over time and allow the motor to move freely. A quick reference table helps compare typical fastener sizes for different pergola types:
| Pergola Type | Bolt Size | Screw Type | Bracket Type |
|---|---|---|---|
| Aluminum motorized pergola | M8 x 80 mm | Stainless steel | Adjustable corner |
| Louvered pergola | M10 x 100 mm | Stainless steel | Fixed T-bracket |
| Retractable roof pergola | M6 x 60 mm | Galvanized | Sliding bracket |
Selecting the right hardware upfront avoids last-minute substitutions and ensures every component meets the load requirements of your automated roof system.
2.3 Optional Tools That Speed Up Installation
While not strictly necessary, optional tools save time and reduce fatigue. Power impact drivers, laser levels, and cordless angle grinders accelerate cutting, leveling, and drilling. Retractable roof pergola installations benefit from laser alignment to guarantee the louver rails are perfectly parallel. A small rolling workbench or cart keeps fasteners and small parts organized, preventing interruptions mid-installation. Even simple additions like a magnetic bit holder or clamp set can cut assembly time significantly, making the overall process more enjoyable and precise for homeowners handling larger setups.
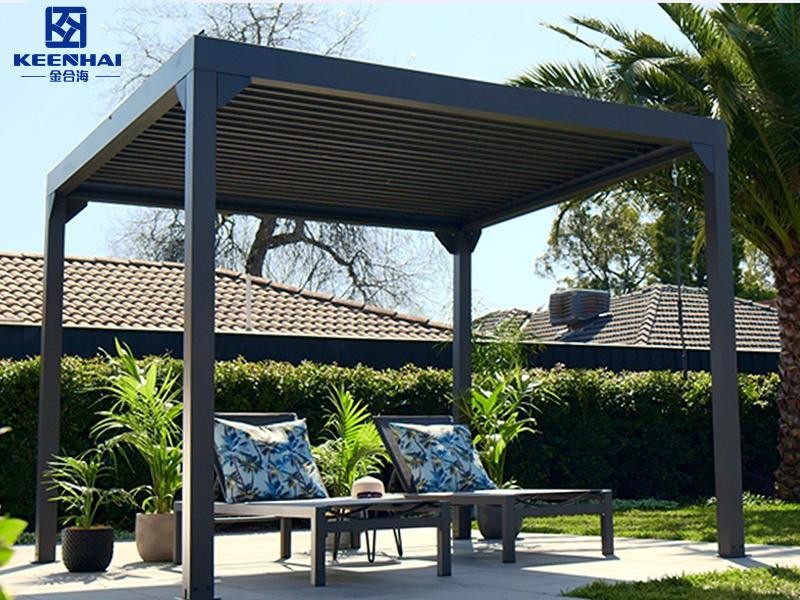
3. Step-by-Step Assembly Guidelines
Following a structured assembly process ensures your motorized pergola goes up smoothly and operates reliably. Rushing through installation can lead to misaligned louvers, uneven posts, or motor strain. Careful preparation, step-by-step execution, and organized parts guarantee that your aluminum motorized pergola functions flawlessly from day one. Before starting, double-check your measurements, ground level, and power access to avoid mid-installation surprises.
3.1 Unboxing and Sorting Components
Start by carefully unpacking all parts and verifying against the included checklist. Lay components on a clean surface, grouping beams, posts, louvers, motors, and hardware separately. Inspect each piece for defects or scratches, especially motor housings and aluminum beams, as even minor bends can affect operation. Label screws and brackets according to the instruction manual to reduce confusion during assembly. Sorting components efficiently speeds up the process and ensures you don’t miss critical steps, particularly when assembling a retractable roof pergola where alignment of moving parts is vital.
3.2 Building the Frame and Support Posts
Erecting the frame correctly forms the backbone of your pergola. Follow these steps:
-
Anchor posts firmly into the ground or patio anchors, verifying level and plumb.
-
Attach horizontal beams to posts using designated brackets and bolts, ensuring square corners.
-
Tighten all fasteners gradually, checking alignment at each stage.
For a louvered pergola, precise frame assembly is crucial since uneven posts can interfere with motorized louver movement and cause long-term wear. Using a level and temporary supports during this stage ensures a perfectly stable frame ready for motor installation.
3.3 Installing Louvers, Motors, and Wiring
Once the frame is secure, move on to the functional elements.
-
Position louvers in the top rails according to the spacing guide.
-
Mount motors securely at designated points, following manufacturer torque specifications.
-
Route wiring carefully through post cavities or along beams to reach power sources without tension or sharp bends.
Integrating the motor correctly ensures your motorized patio cover responds smoothly to remote controls or smart home systems. Double-check all electrical connections, test the motor on a temporary setting, and adjust louvers for full rotation range before tightening brackets fully.
3.4 Final Alignment and Structural Tightening
The final step guarantees longevity and flawless operation.
-
Check that all louvers move freely and rotate evenly.
-
Inspect frame diagonals and post plumb, adjusting minor discrepancies with shims.
-
Fully tighten all bolts and fasteners, ensuring no components shift under motorized load.
For automated systems, a properly aligned aluminum automated pergola avoids motor strain and noise. Completing this step carefully reduces maintenance needs, ensures smooth weather operation, and maximizes the aesthetic appeal of your outdoor space.
4. Electrical and Motor Setup Tips
Proper electrical setup is critical for the long-term performance of your motorized pergola. Incorrect wiring can cause motor malfunction, uneven louver rotation, or even safety hazards. Before beginning, verify that your power supply meets the voltage and amperage requirements specified in the manual. Planning the wiring path in advance reduces clutter and ensures that all connections remain accessible for future maintenance. A motorized patio cover benefits from careful cable management, preventing wires from being pinched during louver movement and ensuring smooth operation of automated controls.
4.1 Safe Wiring Practices for Motorized Systems
Safety is paramount when handling electrical components. Always turn off the main power before connecting wires and double-check polarity for live, neutral, and ground connections. Use weatherproof junction boxes for outdoor outlets and secure wires along posts or beams with clips or conduits to prevent wear from movement or UV exposure. Label each wire clearly to simplify troubleshooting later. For a louvered pergola, proper outdoor-rated wiring ensures that louvers rotate freely without interference, and motors remain protected from moisture and corrosion over time.
4.2 Connecting the Motor, Receiver, and Remote Control
Connecting the motor to its receiver and remote system requires careful attention.
-
Attach the motor to the pergola frame according to torque specifications, ensuring alignment with the louvers.
-
Connect wiring from the motor to the receiver, following the color-coded guide to avoid miswiring.
-
Pair the receiver with the remote or smart home controller, testing for full range and response.
A correctly installed aluminum automated pergola responds instantly to remote commands, allowing smooth rotation of louvers and adjustable shade without motor strain. Using labeled connections and double-checking each step prevents costly errors and ensures long-term reliability.
4.3 Testing Functionality Before Full Use
Before enjoying your motorized pergola, test the system thoroughly.
-
Operate the louvers through their full range, checking for smooth movement and consistent alignment.
-
Verify that the motor stops correctly at the fully open and fully closed positions.
-
Check remote responsiveness from different locations and angles.
Performing this test ensures your motorized patio cover works flawlessly and prevents minor issues from escalating into larger problems. Confirming proper motor function and electrical stability before regular use guarantees safety, longevity, and a hassle-free outdoor experience.
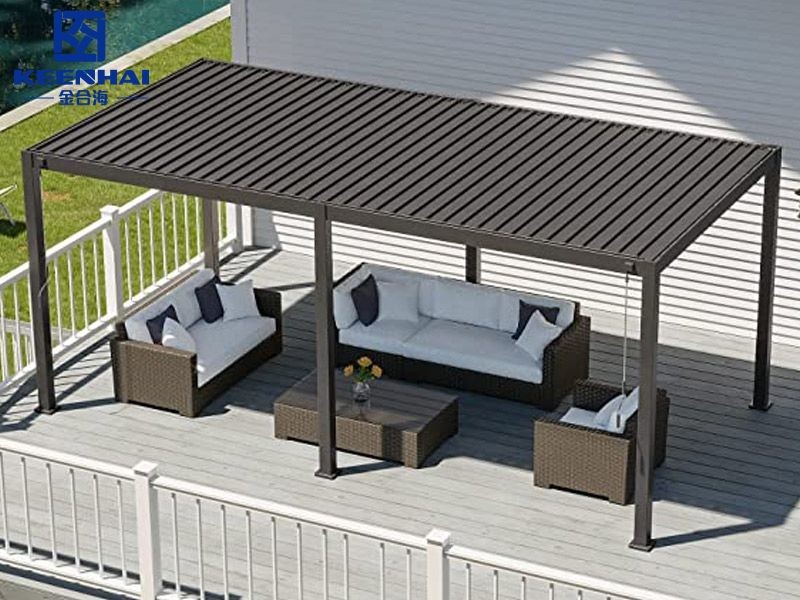
5. Weatherproofing and Long-Term Stability
Ensuring your motorized pergola withstands the elements is key to long-term performance and safety. Exposure to wind, rain, and UV can degrade both the frame and motor over time. A well-secured structure prevents wobbling, maintains proper louver alignment, and protects electrical components from moisture. For outdoor applications, a louvered pergola provides adjustable shade while requiring careful attention to anchoring, sealing, and motor protection to sustain optimal function year-round.
5.1 Securing the Pergola Against Wind Loads
Wind can exert significant force on motorized pergolas, especially larger setups.
-
Anchor all posts using heavy-duty ground anchors or concrete footings designed for the pergola’s size and material.
-
Install diagonal bracing if recommended by the manufacturer to enhance rigidity.
-
Check all fasteners and brackets periodically for tightness, particularly after storms.
A motorized patio cover anchored correctly maintains structural stability and avoids stress on the louvers and motors, ensuring smooth operation even during strong gusts. Proper wind-proofing reduces maintenance needs and extends the lifespan of your investment.
5.2 Sealing Joints and Metal Connections
Moisture infiltration can cause corrosion, especially at connections and louver pivots. Apply outdoor-rated sealant or gaskets to all joints between beams, posts, and brackets. Ensure screw heads, bolt threads, and welded areas are coated or protected from direct water exposure. For aluminum automated pergola, using corrosion-resistant fasteners and sealing joints prevents rust while maintaining a sleek aesthetic. Consistent inspection and maintenance of these sealed points keep the pergola looking new and functioning smoothly over years of use.
5.3 Protecting the Motor and Electrical Components
Motor and electrical protection is crucial for weatherproofing.
-
Use waterproof enclosures for all exposed wiring and receivers.
-
Check that motors have drainage channels to prevent water pooling inside the housing.
-
Cover or shield electrical panels with UV-resistant protective covers.
Proper protection ensures that your louvered pergola or motorized patio cover remains fully operational regardless of rain or snow. Investing time in shielding these sensitive components minimizes repairs, avoids downtime, and keeps automation reliable for the long term.
Installing a motorized pergola doesn’t have to be intimidating. By preparing the site carefully, using the right tools, following structured assembly steps, and ensuring proper electrical setup and weatherproofing, you can enjoy a fully functional, durable outdoor space with minimal hassle. Taking the time to follow these easy installation tips guarantees smooth louver operation, structural stability, and long-term enjoyment of your motorized patio cover. Whether it’s a louvered pergola, aluminum automated pergola, or retractable roof system, careful execution pays off in comfort and reliability.