

Making Your Weathering Steel Flower Pots Mobile: A Guide to Attaching Casters
Weathering steel flower pots are a popular choice for garden enthusiasts who appreciate the unique aesthetic of this material. However, their weight and immobility can be a drawback. Fortunately, attaching casters to these pots can transform them into mobile planters, making it easier to move them around your garden or home. In this guide, we will explore the process of attaching casters to weathering steel flower pots and discuss their benefits.
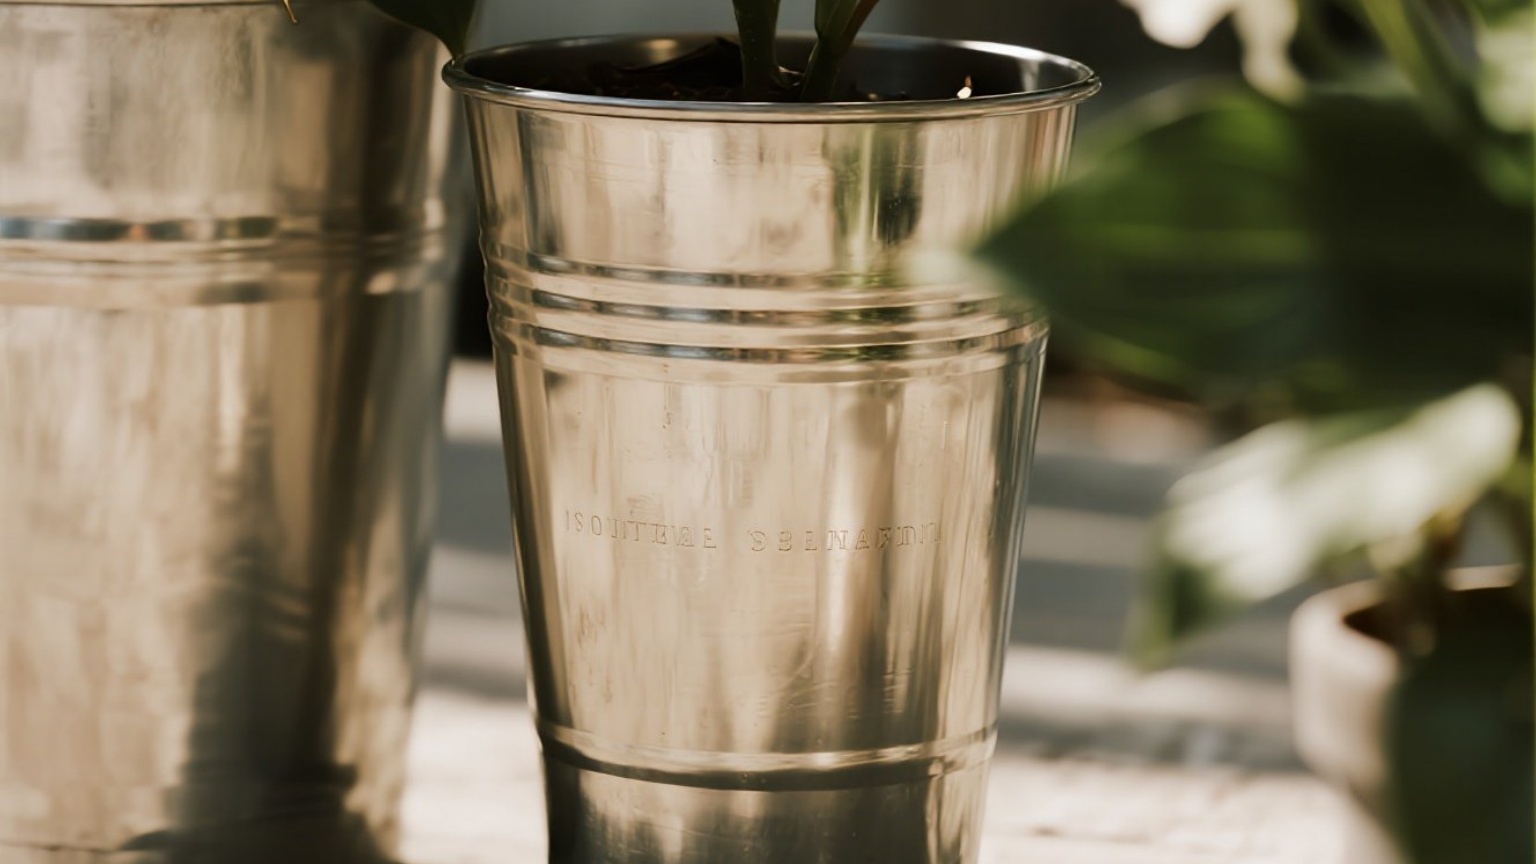
The Role and Benefits of Weathering Steel Flower Pots
Weathering steel, also known as Cor-Ten steel, is an alloy that develops a protective patina over time. This natural rusting process gives the material a distinctive appearance that many gardeners find appealing. Weathering steel flower pots not only add a unique look to your garden but also offer several practical benefits:
- Durability: Weathering steel is highly resistant to corrosion and requires minimal maintenance.
- Aesthetic Appeal: The natural patina adds character and charm to any outdoor space.
- Weight: These pots are heavier than traditional plastic or ceramic containers, providing stability for larger plants.
Why Attach Casters to Your Weathering Steel Flower Pots?
While weathering steel flower pots are durable and attractive, their weight can make them difficult to move around. Attaching casters allows you to easily reposition these pots without damaging your plants or the ground. Here are some scenarios where mobile weathering steel flower pots can be particularly useful:
- Garden Design: Easily move pots from one location to another for optimal sunlight exposure.
- Seasonal Changes: Shift your plant collection indoors during colder months.
- Container Gardening: Create a dynamic display by rearranging your plants.
Steps to Attach Casters to Weathering Steel Flower Pots
Attaching casters to your weathering steel flower pots is a straightforward process that requires minimal tools and materials. Follow these steps for the best results:
1. Prepare the Pot: Clean the bottom of the pot thoroughly with a wire brush or sandpaper to remove any dirt or debris.
2. Mark the Placement: Decide where you want the casters to be placed on the bottom of the pot. Typically, placing them evenly around the perimeter works well.
3. Drill Holes: Use a drill bit slightly larger than the caster bolts and drill holes at each marked spot.
4. Insert Casters: Insert the caster bolts through the holes from the bottom of the pot upwards.
5. Secure Casters: Tighten the nuts on top of each caster bolt until they are securely fastened.
Tips for Choosing and Installing Casters
When selecting casters for your weathering steel flower pots, consider factors such as size, weight capacity, and material compatibility:
- Size: Choose casters that are appropriately sized for your pot's diameter.
- Weight Capacity: Ensure that the weight capacity of the casters exceeds the total weight of your pot and plants.
- Material Compatibility: Opt for casters made from materials that will not corrode when in contact with weathering steel.
By following these steps and tips, you can successfully attach casters to your weathering steel flower pots, transforming them into versatile and mobile plant containers that enhance both functionality and aesthetics in your garden or home.
Conclusion
Attaching casters to weathering steel flower pots is an excellent way to make these durable plant containers more versatile and user-friendly. Whether you're designing a dynamic garden display or simply want easier access to your plants, this simple modification can greatly enhance your gardening experience.