

Enhance Your Garden with LED Strips in Weathering Steel Flower Pots: A Guide to Installation
Introduction to Weathering Steel Flower Pots
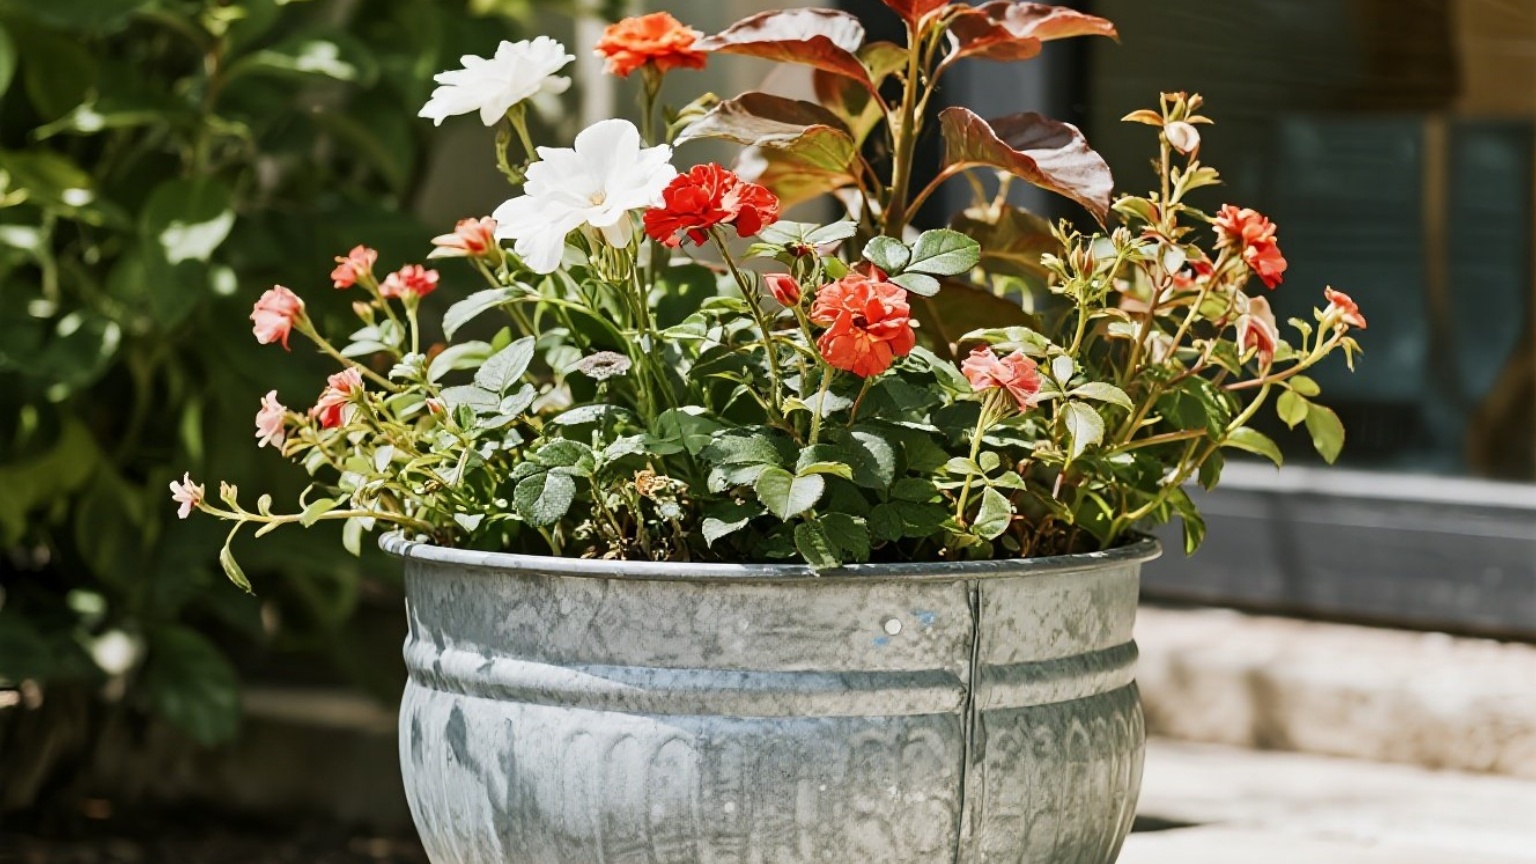
Weathering steel flower pots are a unique and durable addition to any garden or outdoor space. Made from a special type of steel that develops a protective patina over time, these pots not only add a rustic, industrial aesthetic but also offer excellent resistance to corrosion and weathering. They are perfect for creating an urban garden or adding a touch of charm to your patio or balcony.
The Role of LED Strips
LED strips are an energy-efficient and versatile lighting solution that can transform the ambiance of your outdoor space. When paired with weathering steel flower pots, they create a harmonious blend of modern technology and natural beauty. The soft glow of LED lights can enhance the visual appeal of your plants and pots, making them more attractive during the evening hours.
Features of LED Strips for Flower Pots
- Energy Efficiency: LED strips consume significantly less energy compared to traditional lighting options, making them an eco-friendly choice.
- Customizable Lighting: You can choose from various colors and brightness levels to match the mood and style of your outdoor space.
- Waterproof Design: Most LED strips are designed to be waterproof, ensuring they can withstand outdoor conditions without damage.
- Long Lifespan: With advanced technology, LED strips can last for thousands of hours, providing long-term value.
Installation Process
Installing LED strips in weathering steel flower pots is relatively straightforward. Follow these steps for a seamless installation:
1. Prepare the Pots:
- Ensure the flower pots are clean and dry.
- Check if there are any pre-drilled holes for wiring; if not, you may need to drill small holes near the base or sides of the pot.
2. Choose the Right LED Strip:
- Select waterproof LED strips that match the length and design requirements of your pots.
- Consider the color temperature (warm white, cool white) based on your preference and the overall aesthetic.
3. Install Wires:
- Run the wires through the holes you drilled or created in the pot.
- Use wire ties or cable ties to secure the wires inside the pot.
4. Mount the LEDs:
- Attach adhesive-backed clips or small brackets to hold the LED strips in place.
- Ensure they are securely fastened but do not damage the pot’s surface.
5. Connect Power Supply:
- Connect one end of the LED strip to a power source using appropriate connectors.
- Test the lights to ensure they work correctly before securing everything in place.
6. Final Touches:
- Conceal any exposed wires by tucking them inside small gaps or using additional adhesive tape.
- Enjoy your beautifully lit weathering steel flower pots!
Conclusion
Adding LED strips to weathering steel flower pots is an excellent way to enhance both functionality and aesthetics in your outdoor space. By following these steps, you can create a stunning visual display that will complement your garden’s design while providing practical benefits such as improved visibility at night. Whether you’re looking to add ambiance or simply want a modern touch, this DIY project is sure to impress both you and your visitors!