

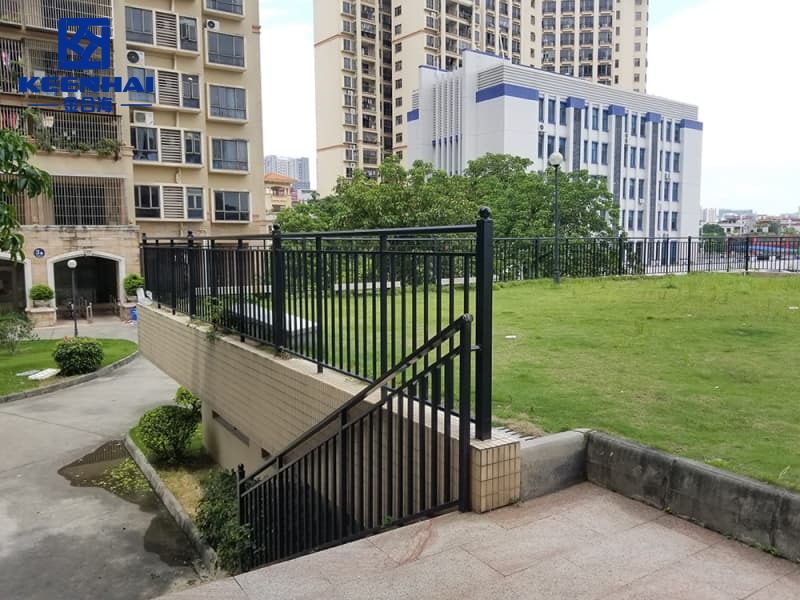
Installing an aluminum slatted fence step by step involves careful planning, handling, and finishing. Measure and mark your site, prepare posts with proper depth and concrete, and secure panels with the right fasteners. Align slats meticulously, allow for thermal expansion, and complete with coating checks and final adjustments. By executing each step methodically, you ensure a strong, attractive, and low-maintenance fence that will serve for years.
1. Planning and Site Preparation
Proper planning and site preparation lay the foundation for a flawless aluminum slatted fence installation. Skipping or rushing this step often leads to misaligned panels, uneven posts, or long-term maintenance headaches. Attention to detail now saves time and effort later.
1.1 Measuring the Fence Layout Accurately
Accurate measurements are the backbone of any successful installation. Start by measuring the total length of your fence line and marking key points with stakes or spray paint. Always double-check dimensions to avoid surprises during panel attachment.
-
Measure along the property line using a tape measure or laser distance tool.
-
Divide the total length by the number of panels to determine post intervals.
-
Account for gates or corners by adjusting spacing slightly to maintain symmetry.
Even a small miscalculation can throw off post alignment, causing panels to sag or appear uneven. Ensuring precision here allows panels like Modern Aluminum Slatted Fences to sit perfectly along the fence line.
1.2 Marking Property Lines and Utility Locations
Before digging, mark all property boundaries and check for underground utilities. Hitting a gas line, water pipe, or electrical cable can be dangerous and costly.
-
Use flags or paint to mark post locations along the measured line.
-
Call your local utility service to identify hidden cables or pipes.
-
Adjust post positions slightly if needed to avoid interference with utilities.
Planning post placement around utilities prevents accidents and ensures smooth installation, especially when working with heavier aluminum panels.
1.3 Assessing Ground Slope and Drainage
Soil slope and water drainage significantly impact fence longevity. Water pooling or uneven ground can cause posts to tilt or panels to warp over time.
-
Walk the fence line and observe natural slopes or depressions.
-
Use a level to identify high and low points along the ground.
-
Plan to adjust post depth or add gravel in low areas for proper drainage.
For example, in a backyard with a gentle slope, posts may need to be 2–4 inches taller on the lower end to maintain a straight top line. Accounting for slope ensures your fence, whether a standard Aluminum Slatted Fence or a Classic Slatted Fence, looks even and professional from all angles.
2. Material Handling and Storage
Proper handling and storage of materials is often overlooked, but it plays a critical role in the longevity and appearance of your aluminum slatted fence. Damaged panels or misplaced tools can lead to delays, extra costs, or installation errors.
2.1 Proper Storage of Aluminum Slats and Panels
Aluminum slats and panels must be stored flat and off the ground to prevent bending, scratches, or moisture damage. Exposure to direct sunlight or standing water can compromise the protective coating.
-
Stack panels horizontally on wooden beams or pallets, leaving small gaps between them for airflow.
-
Cover panels with breathable tarps to protect from rain or dust, but avoid plastic sheeting that traps moisture.
-
Keep panels in a shaded area to prevent heat-related warping or discoloration.
Even minor dents during storage can become visible after installation, so careful handling preserves the fence’s aesthetic. This applies to any aluminum fencing, including Aluminum Slatted Fence, ensuring panels remain pristine until installation.
2.2 Inspecting Materials for Damage Before Installation
Before starting the installation, thoroughly inspect each panel and slat. Missing coating, scratches, or bent edges can compromise durability and appearance.
-
Lay out each panel on a flat surface and check for straightness and uniformity.
-
Examine edges and fastener points for any signs of damage during shipping.
-
Set aside any panels that require touch-ups before installation to avoid delays.
Early detection of defects prevents installing compromised panels, which saves time and ensures a professional finish.
2.3 Organizing Tools and Hardware
Having tools and hardware organized reduces errors and speeds up installation. Misplaced screws or brackets can cause misalignment or even panel damage.
-
Sort screws, brackets, and anchors in labeled containers according to size and purpose.
-
Lay out essential tools—drill, level, tape measure, and wrench—within easy reach.
-
Check tool functionality before starting to avoid interruptions mid-installation.
A well-prepared workspace allows you to focus on precision, whether you’re installing standard aluminum slats or Custom Slatted Fence Panels. Proper organization ensures every panel fits perfectly without rushing or mistakes.
3. Post Installation
Correctly installing posts is critical for structural stability and long-term performance of an aluminum slatted fence. Posts are the backbone; if they are misaligned or unstable, panels will sag or warp, ruining the overall look.
3.1 Digging Holes to Correct Depth
Holes must be deep and wide enough to hold posts securely while accounting for soil type and fence height. A standard rule is to bury about one-third of the post’s total length.
-
Mark each post location along your measured fence line.
-
Use a post hole digger or auger to create holes typically 24–36 inches deep, depending on fence height and soil stability.
-
Widen the bottom slightly to form a bell shape, improving concrete grip and preventing shifting.
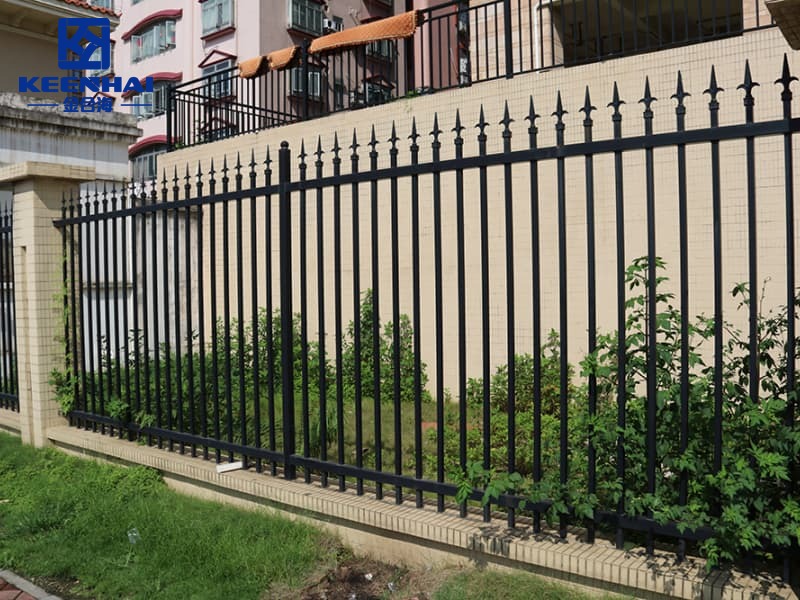
Digging precise holes ensures that your fence, whether it’s a Classic Slatted Fence or an aluminum variant, remains upright and aligned.
3.2 Securing Posts with Concrete or Anchors
Concrete provides maximum stability, but in certain soils, metal anchors can also work. Correctly setting posts prevents leaning or future adjustments.
-
Place the post in the hole and ensure it’s roughly level.
-
Pour concrete around the post, filling in small gaps with a trowel to remove air pockets.
-
Temporarily brace the post using stakes until concrete sets, usually 24–48 hours.
For areas with heavy winds or loose soil, concrete is preferable to keep posts secure over time. Proper anchoring guarantees that panels remain evenly spaced and aligned.
3.3 Ensuring Posts are Level and Aligned
Even small deviations in post alignment can make panels appear crooked. Consistency is key for a polished finish.
-
Check each post vertically with a level before the concrete fully sets.
-
Measure distances between adjacent posts to confirm consistent spacing.
-
Adjust braces as needed to correct any tilt or misalignment.
By carefully leveling and aligning posts, your Aluminum Slatted Fence will not only look professional but also stand strong against environmental stress, providing a straight, clean line across the property.
4. Panel and Slat Installation
Installing panels and slats correctly ensures your aluminum slatted fence maintains both structural integrity and visual appeal. Mistakes here can cause misalignment, rattling, or warping over time.
4.1 Attaching Panels to Posts with Correct Fasteners
Choosing the right fasteners and attaching panels properly is essential for a sturdy fence. Using the wrong screws or brackets can damage the panels or compromise strength.
-
Select corrosion-resistant screws or brackets designed for aluminum.
-
Pre-drill holes in panels to prevent bending or splitting.
-
Secure each panel tightly, but avoid over-tightening, which can warp the aluminum or strip the screw threads.
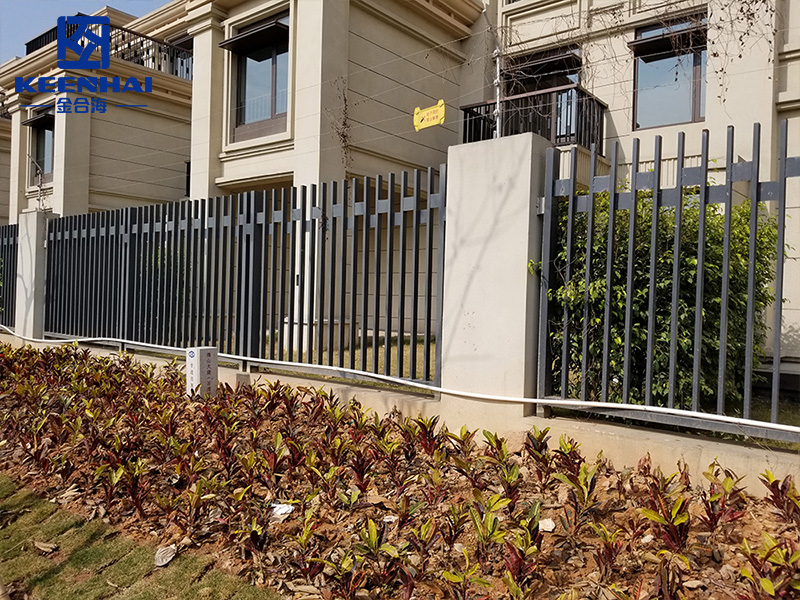
Panels, including Modern Aluminum Slatted Fences, rely on precise fastening for long-term stability. Proper attachment ensures every section is secure and consistent.
4.2 Aligning Slats for Even Spacing
Even spacing between slats creates a professional finish and ensures optimal airflow and light filtration. Misaligned slats look sloppy and can affect panel strength.
-
Use a spacer or jig to maintain uniform gaps across all panels.
-
Check alignment frequently with a level as you attach each slat.
-
Adjust as needed before final fastening to prevent cumulative misalignment.
Attention to spacing detail improves both aesthetics and performance, preventing unsightly gaps or overlaps.
4.3 Adjusting for Expansion Gaps and Temperature Changes
Aluminum expands and contracts with temperature changes. Neglecting expansion gaps can lead to warped or buckling panels, especially in areas with extreme weather.
-
Leave a small gap between panels and posts, generally 1/8 inch per 10 feet.
-
Account for thermal movement during attachment to prevent stress on screws or brackets.
-
Recheck gaps after installation on a hot or cold day to ensure flexibility.
By considering expansion and temperature fluctuations, your Aluminum Slatted Fence maintains even spacing, straight lines, and longevity under varying environmental conditions.
5. Finishing Touches and Coating Checks
Finishing and coating checks are crucial to ensure your aluminum slatted fence not only looks perfect but also lasts decades. Skipping these steps can lead to corrosion, misalignment, or premature wear.
5.1 Inspecting Powder-Coating or Protective Coating
The powder-coating or protective finish protects aluminum from weather, UV, and scratches. A thorough inspection prevents long-term damage.
-
Walk along the fence and visually inspect each panel for chips, scratches, or uneven coating.
-
Touch up minor imperfections with manufacturer-approved touch-up paint.
-
Ensure coating edges on posts and panels are fully covered to prevent moisture intrusion.
Proper coating checks safeguard the structural integrity of Aluminum Slatted Fence and maintain its sleek, modern appearance.
5.2 Tightening Hardware and Checking Panel Alignment
Loose screws or misaligned panels can compromise stability and aesthetics. A careful hardware check ensures everything stays secure.
-
Go through each screw and bracket to verify they are snug but not over-tightened.
-
Use a level or straightedge to confirm panels remain flush and evenly spaced.
-
Adjust brackets or fasteners where panels show slight movement or gaps.
This step guarantees that your fence remains straight, stable, and visually consistent over time.
5.3 Cleaning Panels and Preparing for Maintenance
Cleaning prepares the fence for long-term maintenance and preserves its finish. Dirt, debris, and grime can accelerate wear if neglected.
-
Rinse panels with a hose to remove dust and loose dirt.
-
Use a soft cloth and mild detergent for stubborn stains. Avoid abrasive scrubbers that can scratch powder-coated surfaces.
-
Schedule regular inspections every 6–12 months to catch potential issues early.
By combining inspection, tightening, and cleaning, your Aluminum Slatted Fence stays durable, attractive, and ready for years of low-maintenance enjoyment.
Installing an aluminum slatted fence doesn’t have to be complicated if you follow a structured, step-by-step approach. From precise site preparation and material handling to post installation, panel alignment, and finishing touches, each step ensures long-lasting durability and a clean, modern look. By taking the time to inspect coatings, tighten hardware, and maintain proper spacing, your fence will remain sturdy and visually appealing for years.