

How to Make Holes in Stainless Steel Flower Pots for Drainage: A Comprehensive Guide
Introduction to Stainless Steel Flower Pots
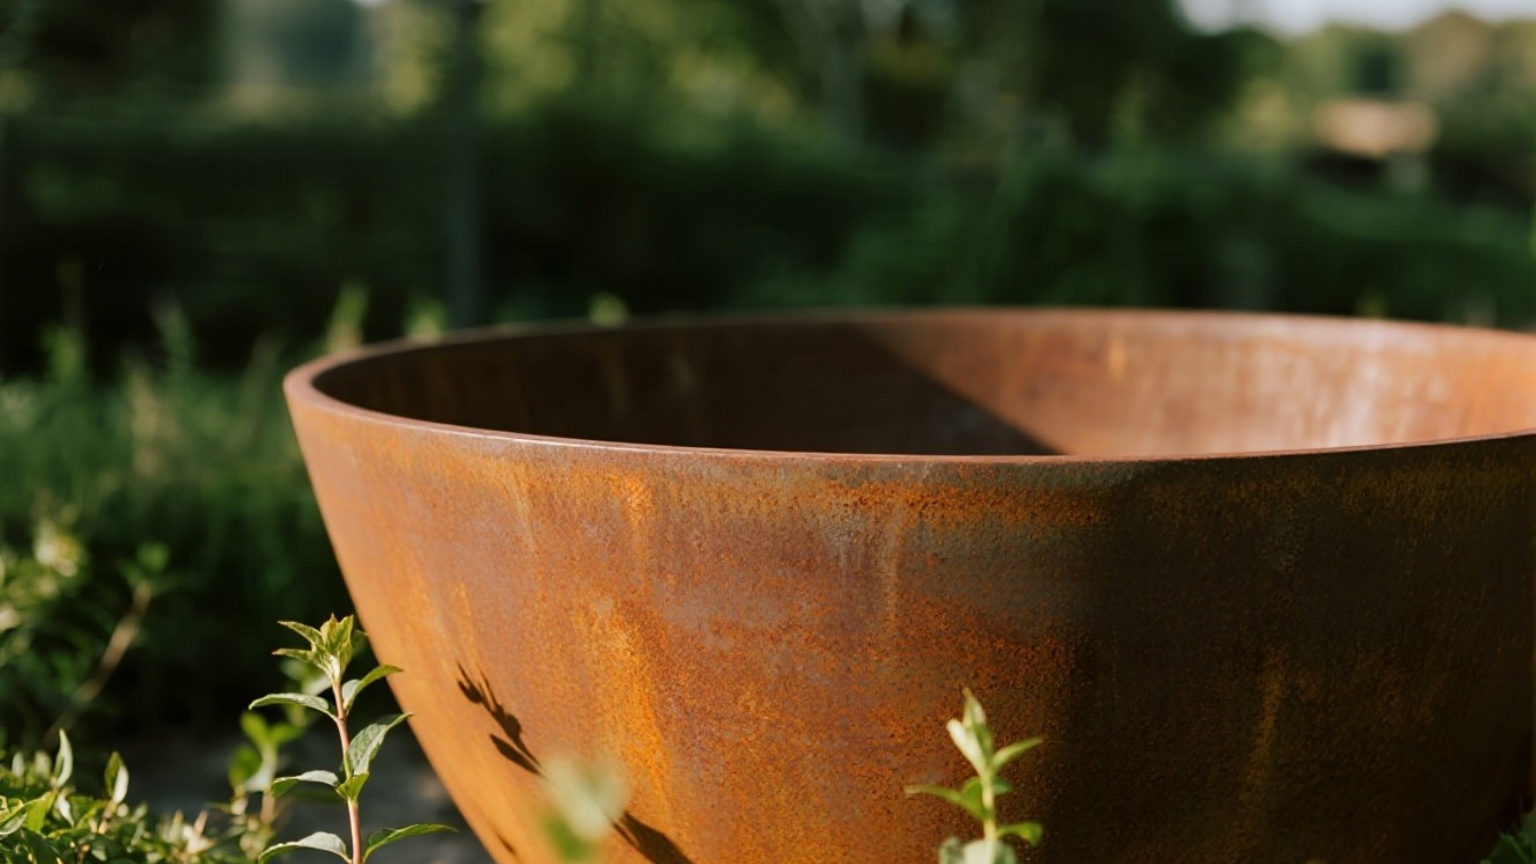
Stainless steel flower pots are a popular choice for garden enthusiasts and indoor plant lovers alike. These pots are not only durable and stylish but also offer several practical advantages. Made from high-quality stainless steel, these pots are resistant to rust, corrosion, and wear, ensuring that your plants remain healthy for years to come. Additionally, they come in various sizes and designs, making them suitable for both small and large plants.
Importance of Proper Drainage
Proper drainage is crucial for the health of your plants. Excess water can lead to root rot, which can be fatal for many species. Stainless steel flower pots, while offering excellent protection against the elements, can trap excess water if not properly drained. Therefore, making holes in these pots is essential to ensure that your plants receive the right amount of moisture without becoming waterlogged.
Tools Needed
To make holes in your stainless steel flower pot for drainage, you will need a few basic tools:
- Drill: A cordless drill is ideal as it provides flexibility and control.
- Hole Saw Bit: This is specifically designed for making circular holes in metal.
- Safety Gear: Safety goggles and gloves to protect yourself during the process.
Step-by-Step Guide
1. Select the Right Location:
Choose a spot on the bottom of the pot where you want to create a drainage hole. It’s best to place the hole near the center to ensure even water distribution.
2. Mark the Spot:
Use a marker or pencil to draw a circle on the spot where you want to make the hole. This will help you keep the hole centered and uniform.
3. Secure the Pot:
Place the pot on a stable surface or use clamps to hold it firmly in place. This will prevent it from moving while you drill.
4. Drill Pilot Holes:
Start by drilling small pilot holes around the marked circle using a smaller drill bit (e.g., 1/8 inch). This will help guide the larger hole saw bit into position more easily.
5. Cut Out the Hole:
Attach the hole saw bit to your drill and carefully cut out the circle by following the marked line. Apply steady pressure as you drill through.
6. Clean Up:
Once you have made all necessary holes, use a file or sandpaper to smooth out any rough edges around the holes.
7. Test Your Pot:
Fill your pot with soil and add some water to test if water drains properly through the holes without causing overflow.
Tips for Optimal Drainage
- Multiple Holes: Consider making multiple smaller holes instead of one large one. This can help prevent soil erosion while ensuring efficient drainage.
- Layering: Place a layer of small stones or gravel at the bottom of your pot before adding soil. This helps with water drainage while retaining some moisture.
- Regular Maintenance: Periodically check your pot’s drainage holes for blockages or wear and replace them if necessary.
Conclusion
By following these steps, you can easily create proper drainage in your stainless steel flower pots, ensuring that your plants thrive in their new home. Remember that good drainage is key to maintaining healthy plants, so take care when making these crucial holes!