

Quick and Seamless Installation: How to Calculate the Installation Time for Residential Exterior Wall Great Wall Panels
When it comes to enhancing the aesthetic appeal and durability of your residential exterior, choosing the right materials is crucial. Great Wall panels have become a popular choice for homeowners looking for a seamless and efficient way to install their exterior walls. These panels are not only visually appealing but also offer several advantages that make them a top choice for many residential projects.
What Are Great Wall Panels?
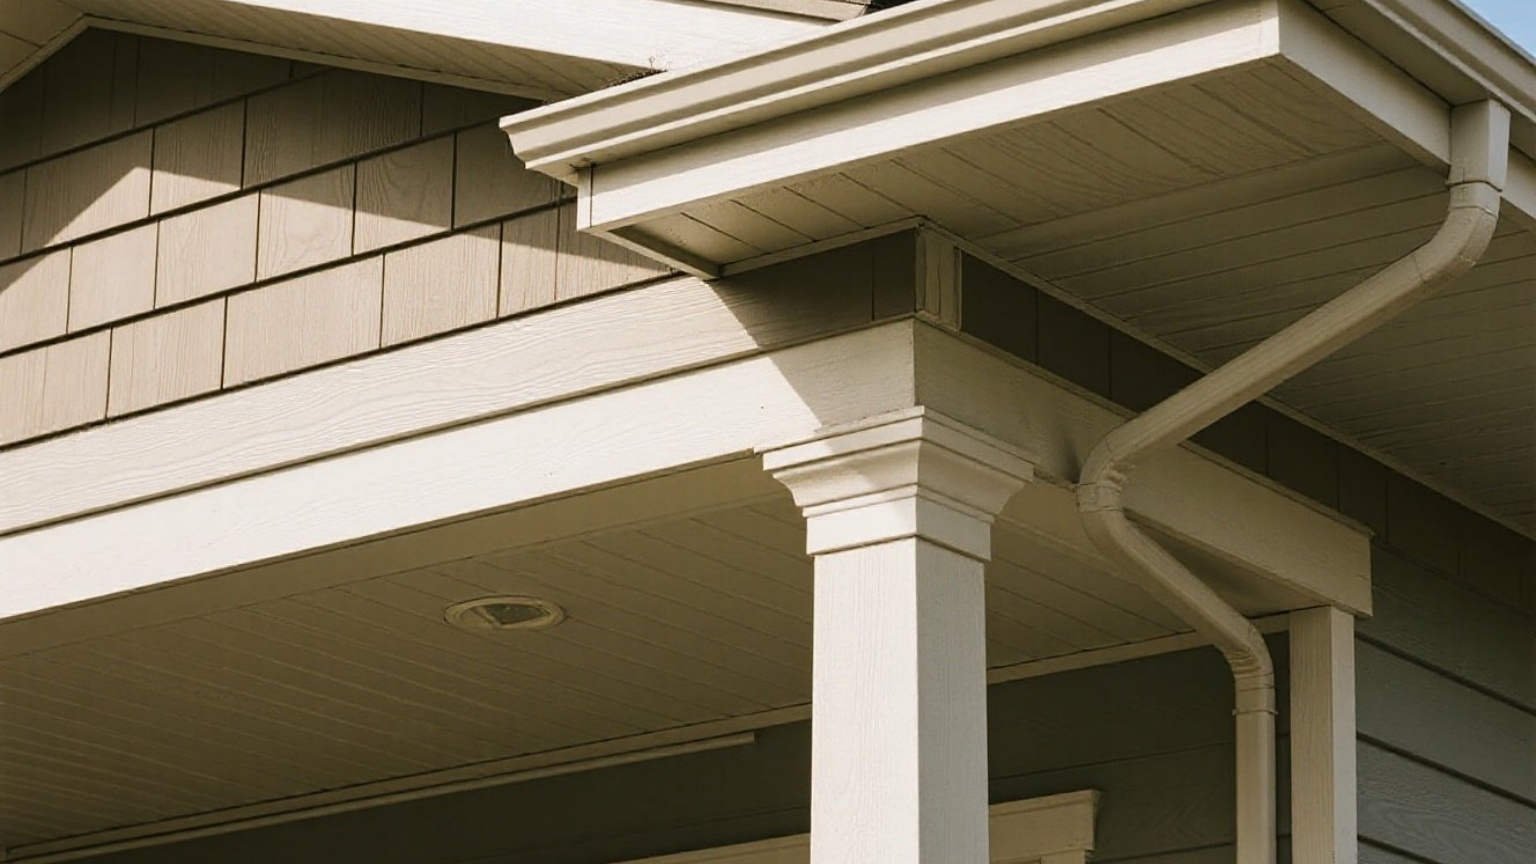
Great Wall panels are prefabricated building components designed for quick and easy installation. These panels are typically made from high-quality materials such as wood, composite, or fiber cement, ensuring both strength and longevity. They come in various designs and colors, allowing homeowners to choose the perfect look that complements their home's architecture.
Key Features of Great Wall Panels
- Durability: Great Wall panels are built to withstand harsh weather conditions, including heavy rain, snow, and strong winds.
- Ease of Installation: One of the most significant advantages of these panels is their ease of installation. They can be quickly assembled without the need for extensive labor or specialized tools.
- Aesthetic Appeal: The panels offer a wide range of designs and finishes, making it easy to achieve a customized look that enhances your home's curb appeal.
- Energy Efficiency: Many Great Wall panels are designed with thermal insulation properties, helping to improve your home’s energy efficiency.
Installation Process Overview
The installation process for Great Wall panels is straightforward and can be completed relatively quickly with proper planning and preparation. Here’s a step-by-step guide on how to calculate the installation time:
1. Site Preparation: Before installing the panels, ensure that the site is clear of any debris or obstacles. This step may take a few hours depending on the size of your project.
2. Panel Assembly: Assemble the panels at your site or at a nearby location if they are too large to transport whole. This step can be done in parallel with other preparations.
3. Laying Out Panels: Once assembled, lay out the panels on the ground in their final positions. This step helps you visualize how they will fit together.
4. Erecting Panels: Start installing the panels from one corner and work your way around the exterior wall. Secure each panel with appropriate fasteners as you go.
5. Finishing Touches: Once all panels are installed, apply any necessary finishing touches such as trim or additional decorative elements.
Calculating Installation Time
To estimate the installation time for residential exterior wall Great Wall panels, consider several factors:
- Size of Your Project: Larger projects will naturally take longer than smaller ones.
- Number of Panels: The more panels you need to install, the longer it will take.
- Experience Level of Installers: More experienced installers can work faster and more efficiently.
As a rough guideline:
- A small project (e.g., 100 square feet) might take 2-3 days with two experienced installers.
- A medium-sized project (e.g., 300 square feet) could take 4-5 days under similar conditions.
Conclusion
Installing residential exterior wall Great Wall panels is an efficient way to enhance both the appearance and durability of your home’s exterior. By understanding the key features and following a well-planned installation process, you can achieve professional results without compromising on quality or time.
Whether you're looking to revamp an existing structure or build something new, Great Wall panels offer an excellent solution that combines style with practicality.