

Install Residential Exterior Wall Great Wall Panels for Outdoor Spaces: A Comprehensive Guide
When it comes to enhancing the aesthetic appeal and functionality of your outdoor living spaces, choosing the right materials is crucial. Great Wall panels have emerged as a popular choice for residential exterior walls, offering both style and durability. This article will guide you through the installation process, highlighting the unique features and benefits of these panels.
What Are Great Wall Panels?
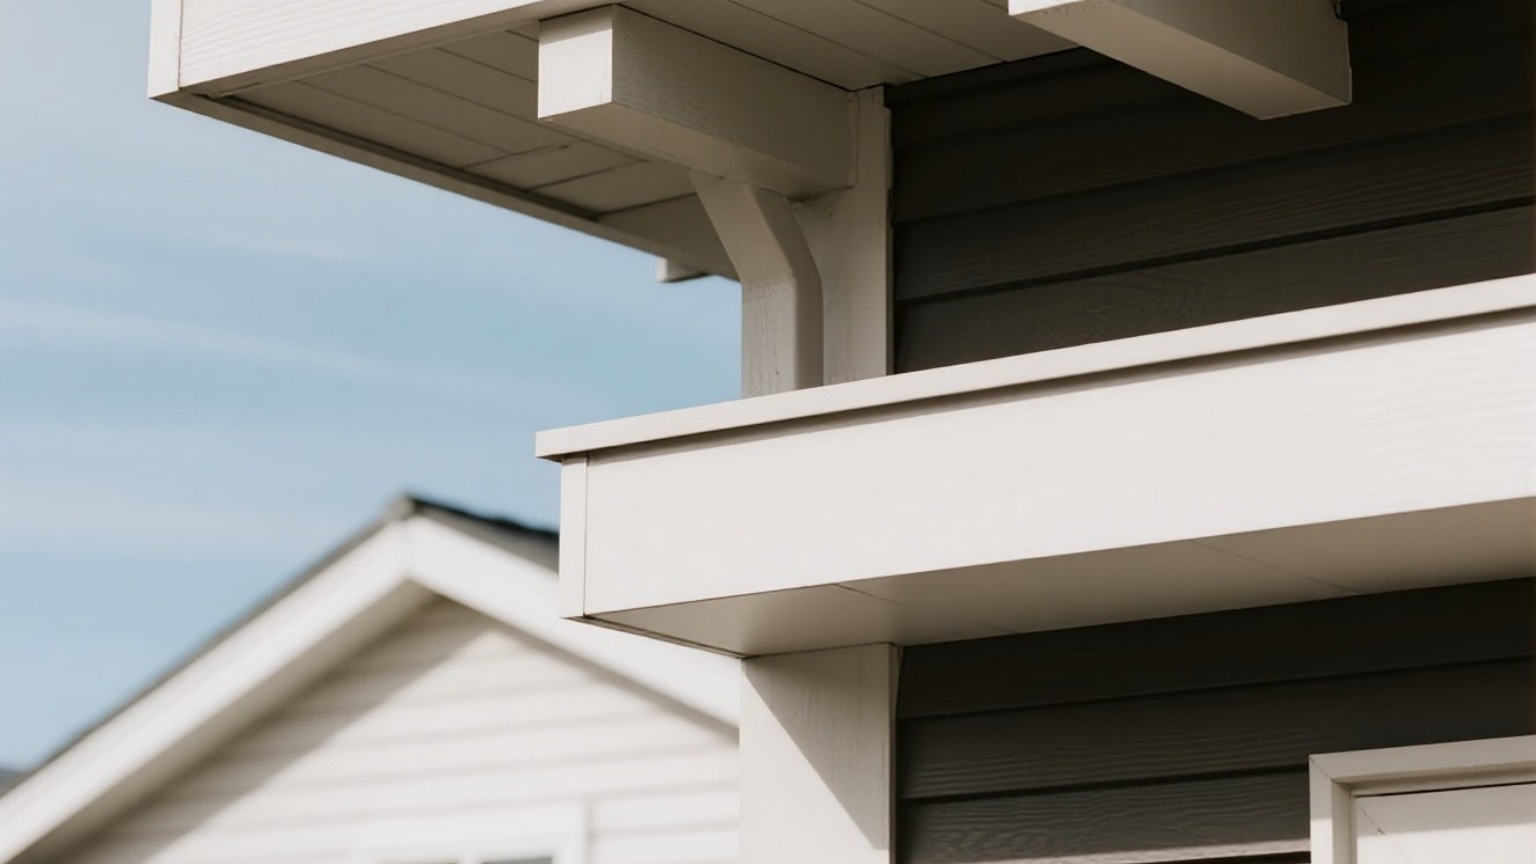
Great Wall panels are high-quality, prefabricated exterior wall systems designed to provide a seamless and elegant finish for both new construction and renovation projects. These panels are typically made from durable materials such as composite wood or aluminum, making them resistant to weathering, rotting, and insect damage.
Features and Benefits
- Durability: Great Wall panels are built to withstand harsh weather conditions, including extreme temperatures, rain, and UV rays.
- Low Maintenance: Unlike traditional wood or masonry walls, these panels require minimal maintenance. They do not need painting or staining, reducing upkeep costs.
- Aesthetic Appeal: Available in a variety of colors and finishes, Great Wall panels can complement any architectural style.
- Quick Installation: The prefabricated nature of these panels allows for faster installation compared to traditional building methods.
Suitable Applications
Great Wall panels are ideal for a wide range of outdoor spaces:
- Fences: Create a secure and attractive boundary around your property.
- Sheds and Cabanas: Add a touch of elegance to your outdoor storage areas or relaxation spots.
- Retaining Walls: Reinforce sloped areas while adding a decorative element to your landscape.
- Pergolas and Gazebos: Enhance the beauty of these structures with durable and visually appealing panels.
Installation Process
1. Preparation:
- Ensure that the area is clean and free from debris.
- Measure the dimensions of the area where you will be installing the panels.
- Plan the layout based on the measurements.
2. Foundation:
- If necessary, prepare a solid foundation for your wall or structure. This may involve digging trenches or laying concrete footings.
3. Installation:
- Start by attaching the bottom panel (also known as the sill plate) to the foundation using appropriate fasteners such as screws or nails.
- Place subsequent panels on top of each other, ensuring they are aligned properly.
- Use corner pieces to connect adjacent walls if needed.
- Secure each panel with screws or clips provided by the manufacturer.
4. Finishing Touches:
- Once all panels are in place, apply any necessary sealants or coatings as recommended by the manufacturer.
- Install any additional features such as windows or doors if required.
5. Final Inspection:
- Conduct a thorough inspection to ensure all connections are secure and that there are no gaps or uneven surfaces.
Conclusion
Installing Great Wall panels for your residential exterior walls is an excellent way to enhance both functionality and aesthetics. With their durability, low maintenance requirements, and wide range of applications, these panels offer a practical solution for any outdoor space. Whether you're looking to fence off an area or create an elegant pergola, Great Wall panels provide a reliable choice that stands up to nature's elements while adding value to your property.
By following this guide, you can successfully integrate these high-quality exterior wall systems into your outdoor living spaces, creating environments that are both beautiful and functional.