

Installing Great Wall Panels on Outdoor Concrete Walls: A Comprehensive Guide
When it comes to enhancing the aesthetic appeal and structural integrity of your residential exterior, choosing the right materials is crucial. Great Wall panels have become a popular choice for homeowners looking to upgrade their outdoor concrete walls. These panels offer a range of benefits, making them ideal for various applications. In this article, we will explore the installation process, highlighting the unique features and benefits of Great Wall panels.
Understanding Great Wall Panels
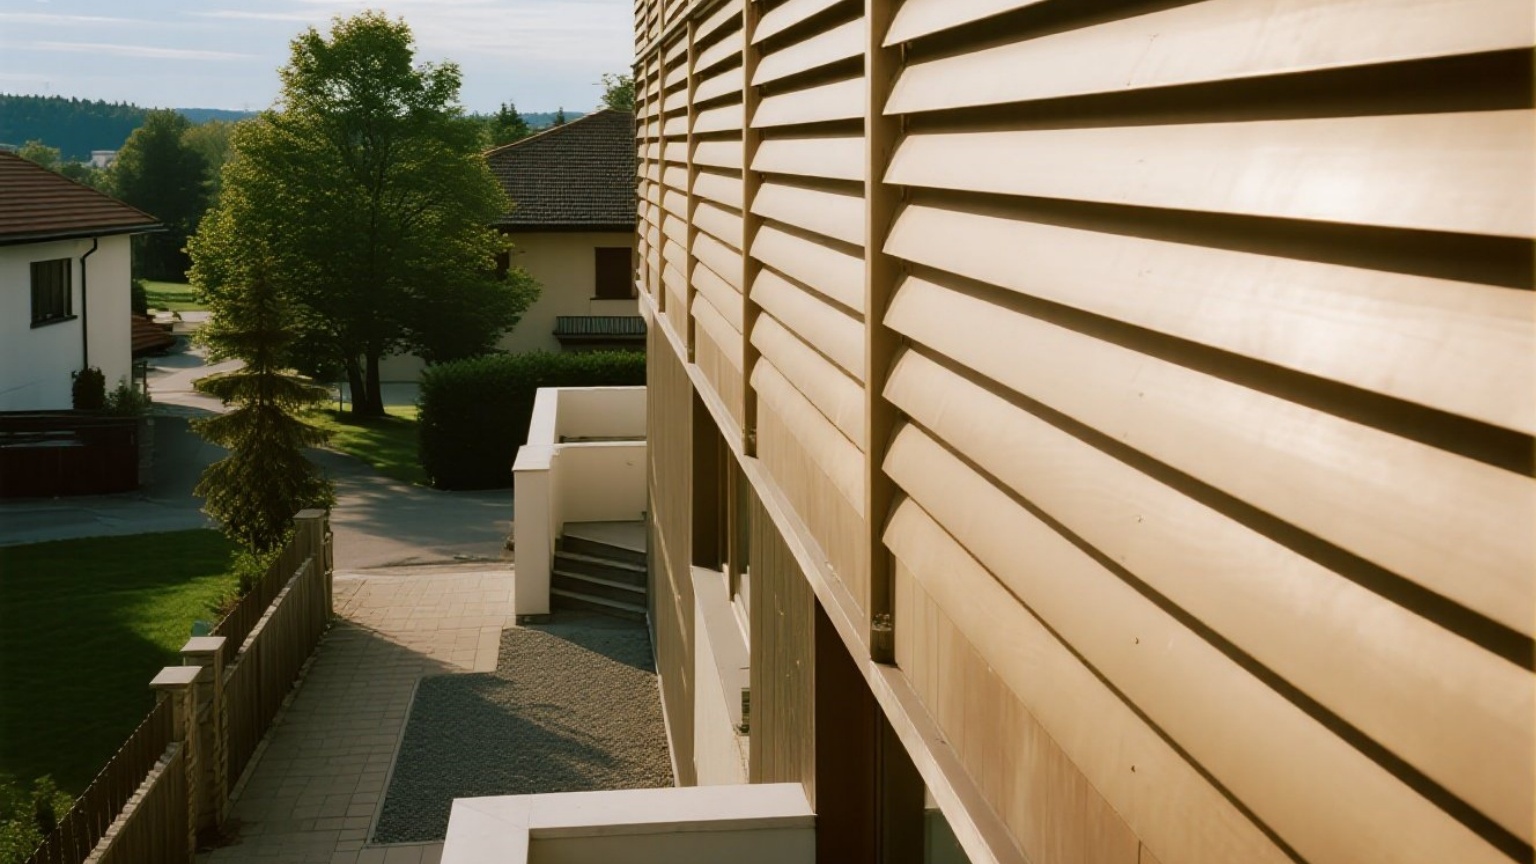
Great Wall panels are designed specifically for outdoor use, providing both style and functionality. They are typically made from high-quality materials that resist weathering, UV rays, and moisture. These panels come in a variety of colors and finishes, allowing you to customize your exterior to match your preferences.
Key Features of Great Wall Panels
- Durability: Made from robust materials that can withstand harsh weather conditions.
- Ease of Installation: Designed for quick and straightforward installation.
- Customization: Available in multiple colors and finishes to fit any design aesthetic.
- Energy Efficiency: Some models are designed to improve insulation, reducing heating and cooling costs.
Suitable Applications
Great Wall panels are perfect for a wide range of outdoor projects, including:
- Fence Panels: Enhance privacy and security with durable fence installations.
- Garden Walls: Create functional and attractive garden walls that complement your landscaping.
- Deck Enclosures: Add a touch of elegance to your deck by enclosing it with these panels.
- Garage Doors: Upgrade your garage entrance with stylish and secure door solutions.
Installation Process
Installing Great Wall panels on outdoor concrete walls is a relatively simple process. Here’s a step-by-step guide:
1. Preparation:
- Ensure the concrete surface is clean, dry, and free from any debris.
- Use a level to check the surface for flatness.
2. Marking:
- Measure and mark the positions where the panels will be installed.
- Use chalk or masking tape to create clear lines.
3. Application:
- Apply an appropriate adhesive or fastening system as recommended by the manufacturer.
- Place the panels in position according to your markings.
4. Securing:
- Use screws or nails to secure the panels firmly in place.
- Ensure all connections are tight to prevent any gaps or loose edges.
5. Finishing Touches:
- Apply any necessary sealants or paints to enhance the appearance and protect against weathering.
Tips for Successful Installation
- Always follow the manufacturer’s instructions carefully.
- Consider using protective gear such as gloves and safety glasses during installation.
- Regular maintenance can extend the life of your Great Wall panels, including cleaning them periodically with mild soap and water.
Conclusion
Great Wall panels offer an excellent solution for enhancing both the appearance and functionality of your residential exterior walls. With their durability, ease of installation, and customization options, these panels are ideal for various outdoor projects. Whether you’re looking to improve privacy, add aesthetic value, or increase energy efficiency, Great Wall panels provide a reliable choice that stands up to the elements.
By following this comprehensive guide, you can successfully install these impressive panels on your outdoor concrete walls, transforming your space into a beautiful and functional outdoor living area.