

How to Repair Residential Exterior Wall Great Wall Panels if Damaged
When it comes to maintaining the aesthetic and structural integrity of your home, the exterior walls play a crucial role. Great Wall panels, known for their durability and aesthetic appeal, are a popular choice for many homeowners. However, like any building material, they can be susceptible to damage over time. In this article, we will explore how to repair residential exterior wall Great Wall panels if they become damaged.
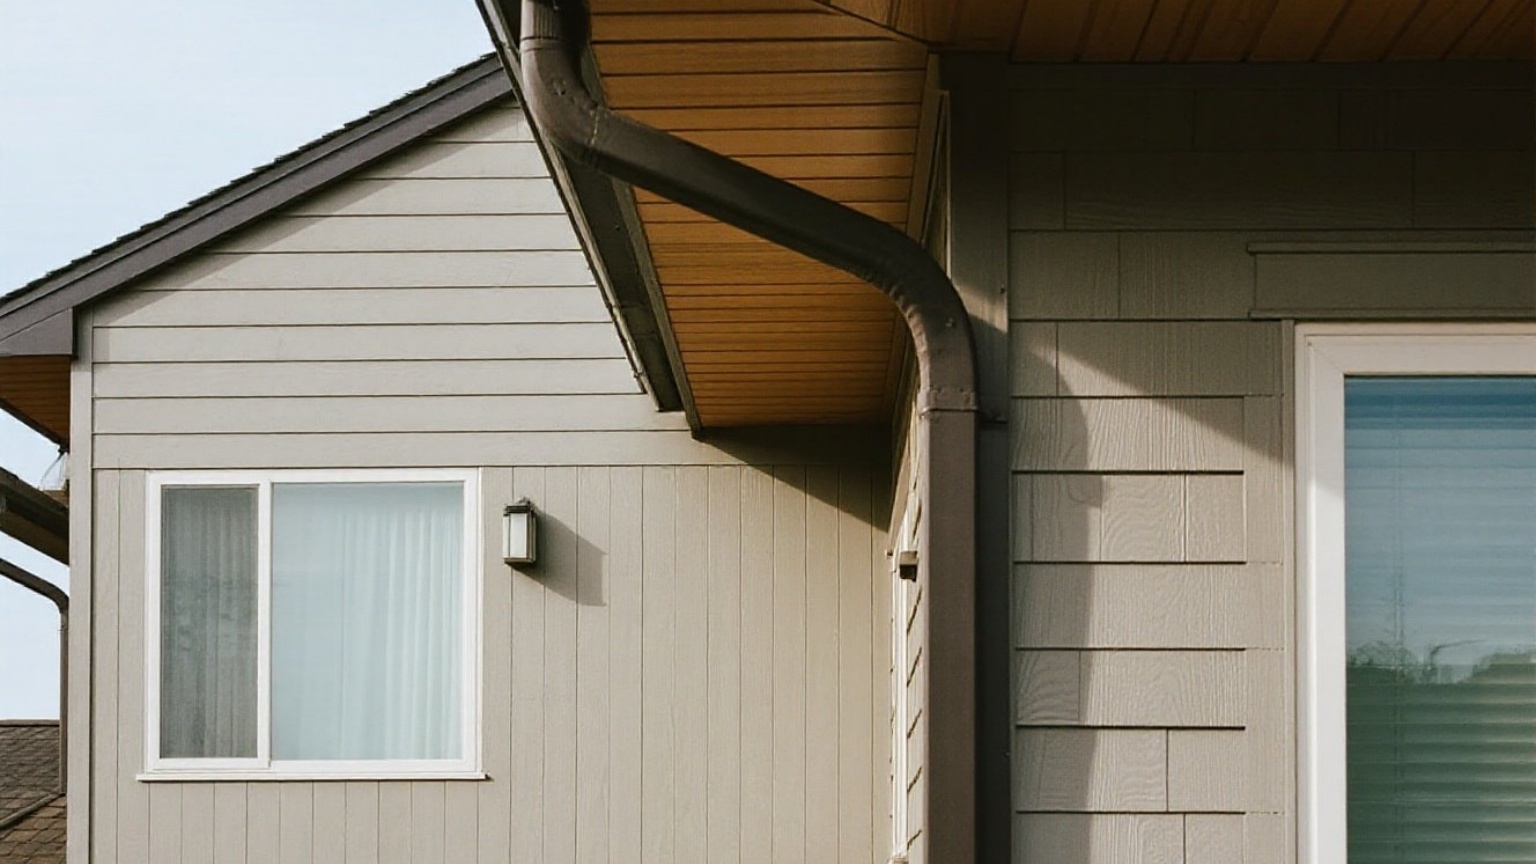
Understanding Great Wall Panels
Product Overview:
Great Wall panels are designed to provide a seamless and robust solution for exterior wall cladding. They are typically made from high-quality materials that offer excellent weather resistance and durability. These panels are not only visually appealing but also easy to install and maintain.
Key Features:
- Durability: Constructed from durable materials that can withstand harsh weather conditions.
- Aesthetic Appeal: Available in a wide range of colors and finishes to match any architectural style.
- Easy Installation: Designed for quick and straightforward installation, reducing labor costs.
- Low Maintenance: Require minimal upkeep, making them a cost-effective choice in the long run.
Common Damages and Their Causes
Before diving into the repair process, it's important to understand the common damages that can occur with Great Wall panels and their causes:
1. Cracks or Chips: These can be caused by physical impact or settling of the foundation.
2. Water Damage: Leaks or prolonged exposure to moisture can lead to rotting or peeling.
3. Peeling Paint: This is often due to poor quality paint or exposure to extreme temperatures.
Repairing Damaged Great Wall Panels
Step-by-Step Guide:
1. Assess the Damage:
- Carefully examine the affected area to determine the extent of the damage.
- Identify whether it is a minor chip or a larger crack.
2. Prepare the Area:
- Clear away any debris from around the damaged panel.
- Ensure that the area is clean and dry before proceeding with repairs.
3. Apply Adhesive:
- Use an appropriate adhesive suitable for the material of your Great Wall panels.
- Apply a small amount of adhesive directly onto the damaged area.
4. Repair Minor Chips:
- For minor chips, you can use a matching color putty or filler.
- Apply it evenly over the damaged area and allow it to dry according to the manufacturer’s instructions.
5. Repair Larger Cracks:
- For larger cracks, you may need to replace the damaged panel entirely.
- Carefully remove any old adhesive or paint from around the crack.
- Install a new panel by following the manufacturer’s installation instructions.
6. Seal and Finish:
- Once repairs are complete, seal any exposed edges with sealant to prevent further water damage.
- Apply a coat of paint or finish that matches your existing panels for a seamless look.
Maintenance Tips
To ensure your Great Wall panels remain in excellent condition:
- Regularly inspect your exterior walls for signs of damage.
- Clean your panels periodically using mild soap and water.
- Protect your panels from extreme weather conditions by applying appropriate sealants.
Conclusion
Repairing residential exterior wall Great Wall panels is essential for maintaining both the aesthetic appeal and structural integrity of your home. By understanding common damages and following these repair steps, you can keep your Great Wall panels looking great for years to come. Remember, regular maintenance is key to prolonging their lifespan and ensuring they continue to provide excellent performance.
For more detailed information on product specifications or professional installation services, contact your local Great Wall panel supplier today!