

DIY Aluminum Sunshade Kits: Assembly Requirements and Benefits
Introduction to DIY Aluminum Sunshade Kits
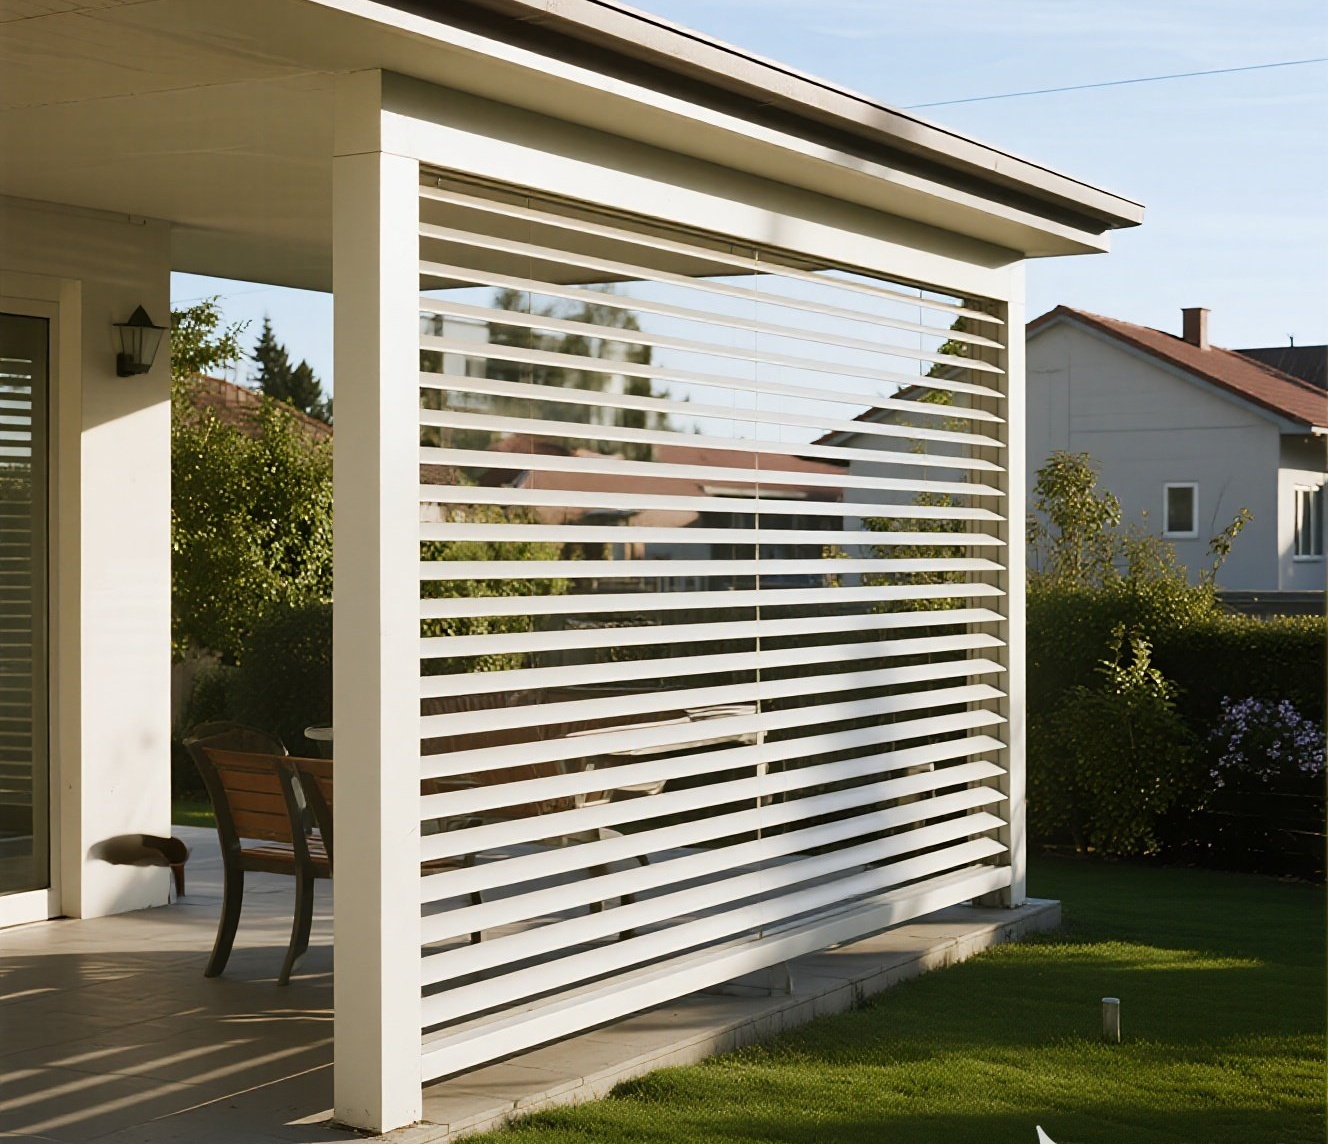
DIY aluminum sunshade kits are a popular choice for homeowners and renters alike who wish to enhance the comfort and aesthetics of their living spaces. These kits offer a cost-effective solution for blocking out unwanted sunlight, reducing heat gain, and improving energy efficiency. Whether you're looking to install sunshades in your windows or on your patio, these kits provide a versatile and customizable option.
Understanding the Product
Aluminum sunshade kits are designed to be installed easily without the need for professional help. They typically consist of aluminum panels that can be adjusted to control the amount of light entering a room. The panels are often made from durable materials, ensuring they can withstand various weather conditions. Additionally, these kits come with all necessary hardware and installation instructions, making them accessible even for those with limited DIY experience.
Key Features and Benefits
- Durable Material: Aluminum is known for its strength and resistance to corrosion, making it ideal for outdoor use.
- Customizable Design: Many kits offer various panel sizes and colors, allowing you to match your existing decor.
- Energy Efficiency: By reducing direct sunlight, aluminum sunshades can help lower cooling costs during hot summer months.
- Ease of Installation: Comprehensive instructions and pre-assembled components make installation straightforward.
Assembly Requirements
1. Tools Needed:
- Screwdriver (flathead or Phillips)
- Measuring tape
- Level (optional but recommended)
- Safety glasses (for protection)
2. Preparation:
- Carefully read through the installation manual provided with your kit.
- Ensure you have all the necessary components before beginning.
- Clean the area where you plan to install the sunshades to remove any dust or debris.
3. Step-by-Step Assembly:
- Step 1: Measure and mark the location where you want to install the sunshades.
- Step 2: Attach mounting brackets to the window frame or wall using screws provided in the kit.
- Step 3: Install the aluminum panels onto the brackets according to the manufacturer's guidelines.
- Step 4: Adjust each panel as needed to ensure proper coverage and alignment.
- Step 5: Use a level to ensure that all panels are straight and properly aligned.
4. Final Checks:
- Double-check all screws are tightened securely.
- Ensure that there are no gaps between panels that could allow light through.
Conclusion
DIY aluminum sunshade kits offer a practical solution for enhancing your home's comfort while maintaining an attractive appearance. With their ease of assembly and durability, these kits are perfect for anyone looking to improve their living space without breaking the bank. By following these assembly requirements, you can enjoy a cooler, more pleasant environment while also contributing positively to energy conservation efforts.
Whether you're dealing with harsh sunlight in a sunny climate or simply want to add an aesthetic touch to your home decor, aluminum sunshade kits are an excellent choice. Start enjoying the benefits today by following these simple steps!