

Transform Your Home with Aluminum Sunroom Roof Shingles: A Guide to Installation
Adding a sunroom to your home not only enhances its aesthetic appeal but also provides a functional and comfortable space for relaxation and entertainment. One of the key elements in creating a sunroom is the roofing system. Aluminum sunroom roof shingles are a popular choice due to their durability, energy efficiency, and attractive appearance. This guide will walk you through the installation process of aluminum sunroom roof shingles, ensuring you achieve the best results.
Understanding Aluminum Sunroom Roof Shingles
Product Overview:
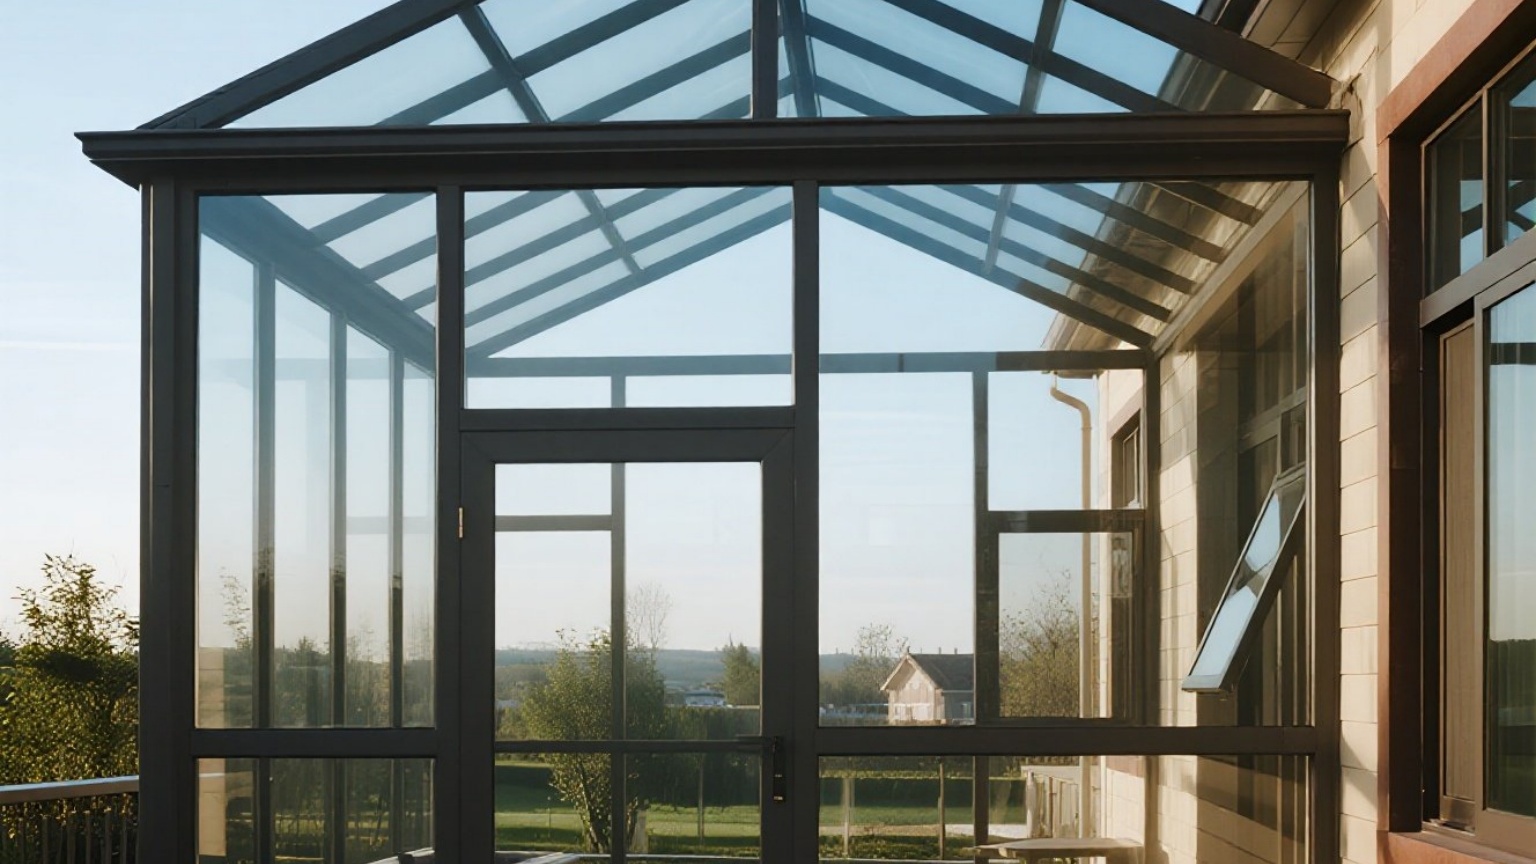
Aluminum sunroom roof shingles are designed specifically for sunrooms and other outdoor living spaces. They are lightweight, corrosion-resistant, and come in various colors and styles that can complement any architectural design. These shingles are ideal for areas with high humidity or salt spray, making them perfect for coastal or humid climates.
Key Features:
- Durability: Aluminum is highly resistant to corrosion, rust, and rot, ensuring long-lasting performance.
- Energy Efficiency: Reflective properties help reduce heat gain, leading to lower cooling costs.
- Aesthetic Appeal: Available in a range of colors and styles that match traditional roofing materials.
- Easy Maintenance: Requires minimal upkeep compared to other roofing materials.
Installation Steps for Aluminum Sunroom Roof Shingles
Step 1: Preparation
Before starting the installation process, ensure you have all necessary tools and materials:
- Aluminum roof shingles
- Underlayment material (such as felt paper)
- Fasteners (nails or screws)
- Flashing materials
- Safety gear (gloves, safety glasses)
Step 2: Measure and Cut Underlayment
Measure the area where the aluminum shingles will be installed. Cut the underlayment material to fit each section of the roof. Ensure it overlaps by at least 6 inches to provide adequate protection against water intrusion.
Step 3: Install Underlayment
Lay down the underlayment material starting from the bottom edge of the roof. Secure it with fasteners every few feet to prevent wind uplift. Overlap each row of underlayment by about 6 inches.
Step 4: Apply Flashing
Install flashing around any penetrations such as vents, chimneys, or skylights. This helps direct water away from these areas and prevents leaks.
Step 5: Install Aluminum Shingles
Starting from one end of the roof, begin installing the aluminum shingles according to the manufacturer’s instructions. Use fasteners to secure each shingle in place. Ensure they are aligned properly with each other for a neat appearance.
Step 6: Trim Edges
Trim any excess aluminum around edges where it meets walls or other structures. This step is crucial for achieving a clean finish.
Step 7: Final Inspection
After installation, conduct a thorough inspection to ensure all shingles are securely fastened and there are no gaps or overlaps that could lead to water leakage.
Conclusion
Installing aluminum sunroom roof shingles is an investment in both aesthetics and functionality for your outdoor living space. By following these detailed steps, you can ensure a successful installation that provides years of reliable performance and enhanced curb appeal. Whether you’re looking to extend your living space or improve energy efficiency, aluminum sunroom roof shingles offer an excellent solution for your home improvement project.
For more information on selecting the right materials and professional installation services, visit [Your Company's Website] or contact our experts today!