

Installing Great Wall Panels for Your Residential Exterior: A Comprehensive Guide
When it comes to enhancing the aesthetic appeal and functionality of your residential exterior, Great Wall panels stand out as a top choice. These panels are designed to provide a seamless blend of style and durability, making them perfect for various residential applications. In this article, we will walk you through the installation steps for these panels, ensuring that your project is both efficient and effective.
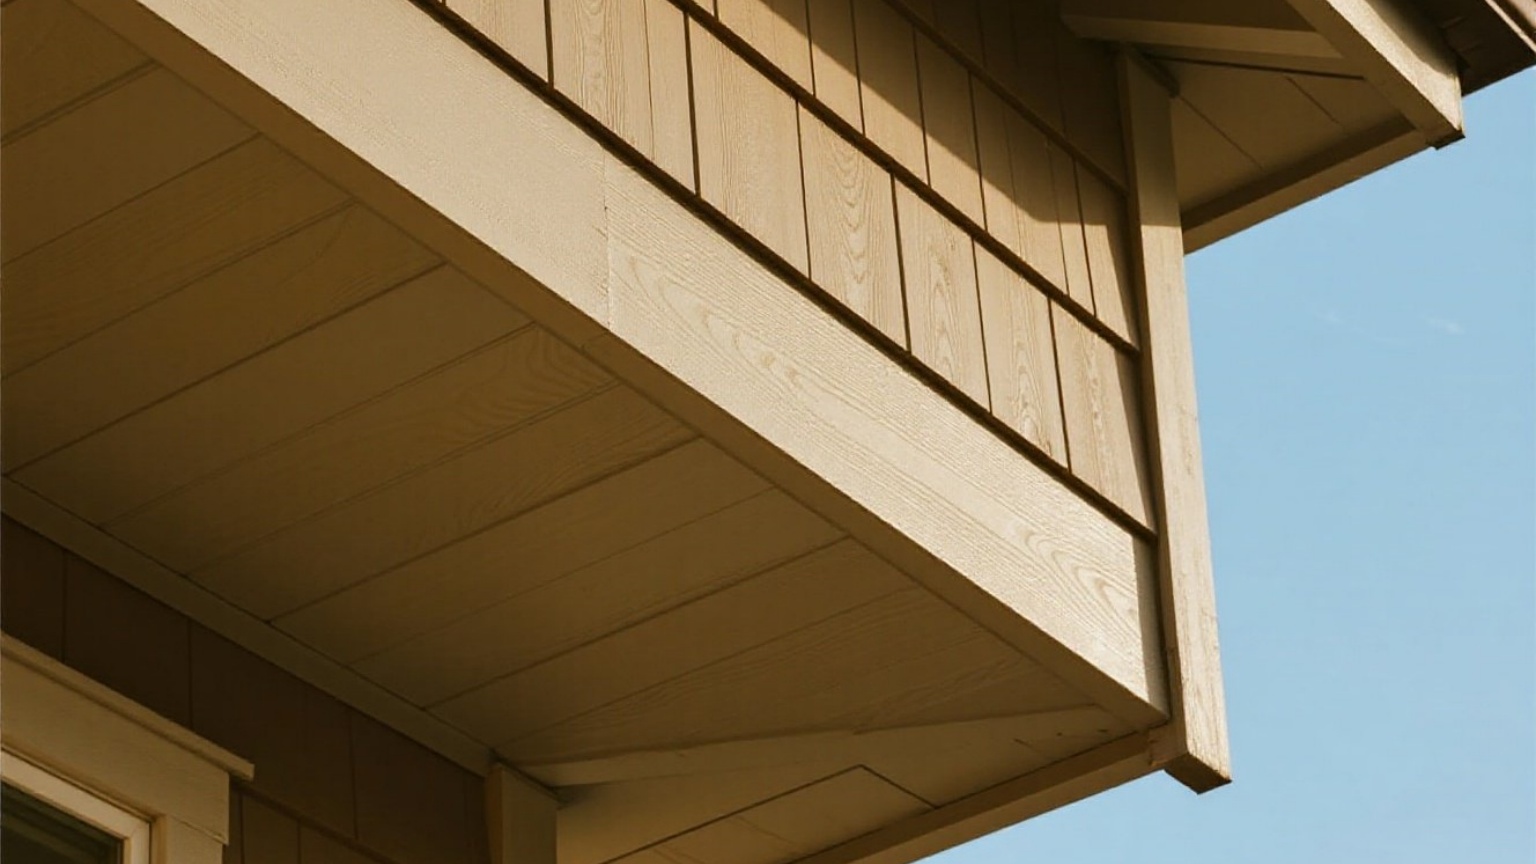
Understanding the Benefits of Great Wall Panels
Before diving into the installation process, it's crucial to understand why Great Wall panels are a popular choice among homeowners. These panels offer several key benefits:
- Durability: Made from high-quality materials, Great Wall panels are resistant to weathering, moisture, and UV rays, ensuring long-lasting performance.
- Aesthetic Appeal: Available in a wide range of colors and designs, these panels can enhance the curb appeal of your home.
- Ease of Installation: Designed with user-friendly features, installation is straightforward and requires minimal expertise.
Preparing for Installation
Before you begin the installation process, ensure that you have all the necessary tools and materials. Here’s what you’ll need:
- Great Wall panels
- Measuring tape
- Level
- Hammer
- Nails or screws
- Safety gear (gloves, safety glasses)
Step-by-Step Installation Guide
1. Measurement and Planning
- Measure the dimensions of the exterior walls where you plan to install the panels.
- Sketch a layout plan to ensure proper alignment and spacing.
2. Preparation
- Clean the wall surface thoroughly to remove any dirt or debris.
- Mark the positions where each panel will be placed using a level to ensure straight lines.
3. Starting at the Bottom
- Begin by installing the bottom row of panels. Ensure they are securely fastened using nails or screws.
- Use a level to check that each panel is perfectly horizontal.
4. Continuing Upwards
- Continue installing each row from bottom to top.
- Use spacers between rows if needed to maintain consistent gaps.
5. Seamless Finishing
- For a professional look, use appropriate sealing compounds or silicone at joints between panels.
- Ensure all edges are smooth and free from gaps.
6. Final Touches
- Inspect the entire installation for any missed spots or imperfections.
- Make any necessary adjustments or touch-ups.
Conclusion
Installing Great Wall panels is a rewarding project that can significantly enhance your home’s exterior appearance while providing long-term protection against environmental elements. By following these detailed steps, you can achieve a professional-looking finish that adds value to your property. Whether you’re looking to modernize your home’s facade or simply want to improve its durability, Great Wall panels are an excellent choice for any residential exterior project.