

1. Pre-Installation Planning & Preparation
1.1 Site Survey and Measurements
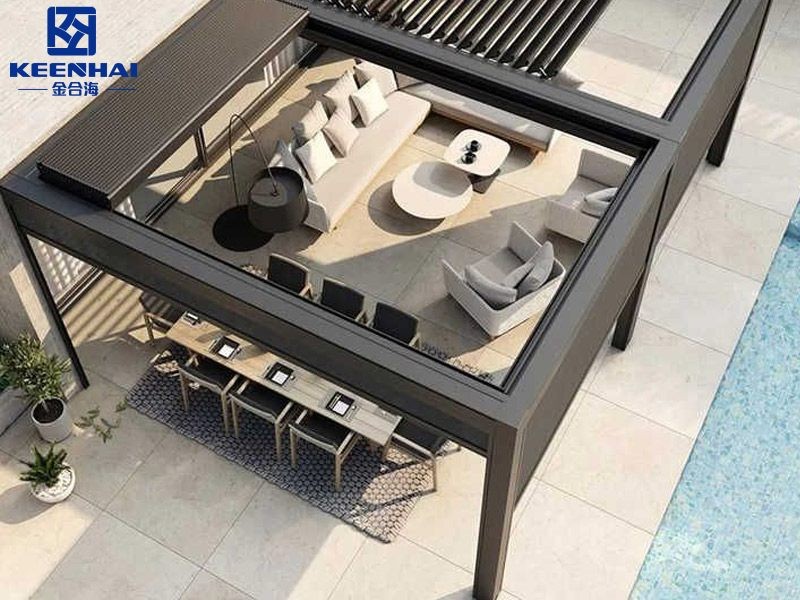
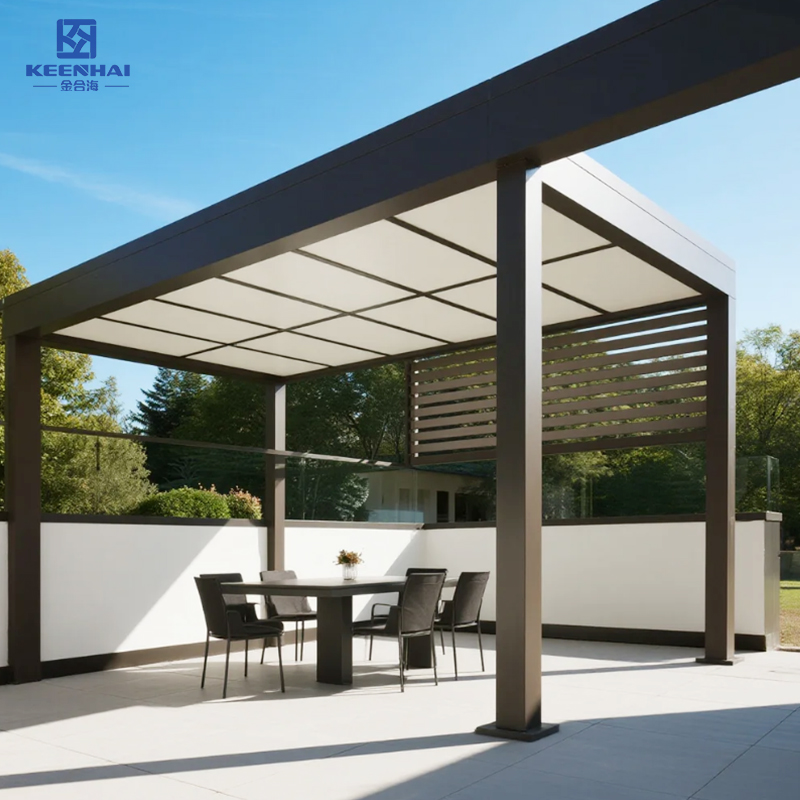
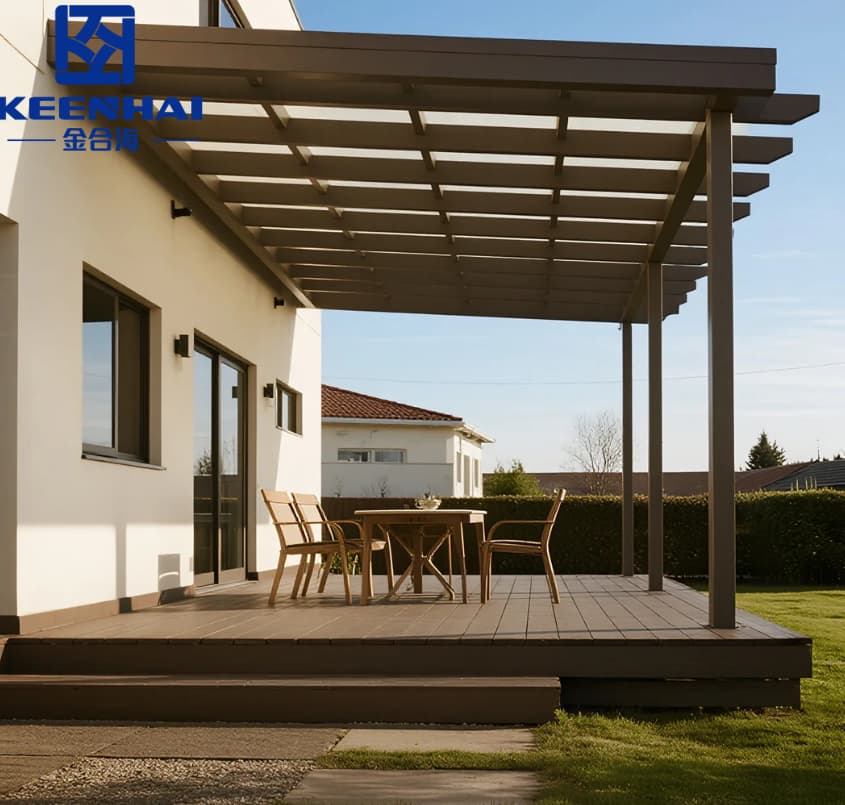
A proper build always starts with a structured walkthrough of the site. I check how the footprint interacts with walls, slopes, drainage lines, and the sun’s path across the yard. When homeowners plan a modern outdoor structure such as an aluminum pergola house, I pay special attention to the post layout and the spacing needed for louver rotation or integrated lighting.
I normally begin by marking reference points with a laser measurer, then map out post centers, wiring routes, and the slope required for hidden drainage. I always confirm clearances twice, because a small mistake may cause louver misalignment or force last-minute structural adjustments. If the concrete pad isn’t level, I note exactly where leveling plates or footing adjustments will be needed before installation day.
1.2 Permits and Local Code Checks (If Required)
Before moving forward, I verify whether local building codes require formal approval. Some cities treat open-roof outdoor structures as minor additions, while others want drawings for anything mounted on fixed posts. If the project includes advanced features—like automated louvers or integrated drainage—I make sure the design meets fire-safety distances, electrical standards, and setback requirements.
Many clients don’t expect the inspection step, so I walk them through specifics:
-
Review zoning maps for setback limits.
-
Confirm electrical guidelines for lighting or motorized systems.
-
Check wind-load requirements, especially in coastal areas.
-
Prepare simple diagrams for submission if the municipality asks for them.
These early checks keep the installation smooth and prevent construction delays triggered by surprise code restrictions.
1.3 Tool, Material, and Parts Checklist
The final stage of preparation is assembling every component needed for installation. I list out structural parts, mounting hardware, drainage accessories, and motor units if the design includes automation. For projects that incorporate adjustable louvers—similar to a louvered pergola system I also confirm that every actuator, bracket, and waterproof gasket is on-site before opening any packaging.
To avoid missing pieces, I sort everything by step sequence:
-
Foundation and post hardware
-
Beam connectors and reinforcement plates
-
Louver frames, motors, and wiring
-
Finishing caps, gutters, and downspout fittings
I keep a small comparison reference to ensure compatibility of parts during preparation:
| Component Type | Typical Material | Why It Matters |
|---|---|---|
| Posts & Beams | Powder-coated aluminum | Supports roof loads and ensures corrosion resistance |
| Louvers | Thick-gauge aluminum | Allows smooth rotation and stable performance |
| Hardware | Stainless steel | Prevents rust around connection points |
Having every part ready eliminates downtime once the installation begins and keeps the workflow steady from the first drilled hole to the final louver test.
2. Foundation and Footing Installation
2.1 Marking Post Locations and Setting Reference Lines
I always start by laying out the exact footprint of the structure, especially when the project involves a full louvered pergola where post alignment directly affects louver rotation and the drainage slope. I snap tight chalk lines to define beam direction and run a laser level to establish elevation consistency across all corners.
Then I mark each post center with ground stakes and measure diagonals to confirm the layout is perfectly square. If the diagonals differ by even 1–2 cm, the entire roof alignment drifts, so I adjust the grid until the measurements lock into place. Before moving on, I double-check entry clearance, walkway space, and how the posts visually align with doors, windows, and existing landscaping.
2.2 Excavation Depth and Concrete Footing Pouring
Once the layout is locked, I start digging footing holes. The depth varies with soil density and frost-line requirements, but I normally go 40–60 cm for standard patio builds and 70–90 cm in looser or coastal soils. I widen the bottom of each hole slightly to improve load distribution and reduce the risk of soil shift during storms.
The concrete pour follows a very predictable checklist:
-
Mix the concrete to a thick, low-slump consistency.
-
Fill the base first, then rod the mix manually to eliminate air pockets.
-
Build up the pour in layers so every section bonds tightly.
I also embed short PVC conduits if the design later includes lighting, motor wiring, or accessories, making it easier to connect an aluminum pergola house without surface cables showing.
2.3 Installing Anchor Bolts and Curing Time
Before the concrete sets, I place heavy-duty anchor bolts into the wet footing and align them with the reference lines. I use a straightedge to ensure bolt height stays consistent and a small magnetic level to keep each bolt perfectly vertical. Even a slight tilt causes the post base to twist, which then affects beam alignment and louver motion.
I allow a full 48–72 hours of curing time depending on humidity and temperature. During this window, I protect footings with plastic sheets so rain doesn’t weaken the surface. Once cured, I check bolt spacing against the post plates and clean the surrounding area to prepare for structural assembly. A clean, perfectly leveled footing stage makes the rest of the install flow smoothly with no surprise adjustments.
3. Frame Assembly
3.1 Erecting Posts and Ensuring Plumb Alignment
The first step in frame assembly is to raise each post carefully onto the cured footings. I always use a laser level or long spirit level to ensure posts are perfectly vertical. Misalignment at this stage can cause beams and louvers to bind or twist.
Steps I follow:
-
Position the post over the anchor bolts.
-
Use temporary braces to hold it steady.
-
Adjust plumb alignment by small shifts and double-check with a level.
-
Tighten the nuts gradually while maintaining vertical alignment.
For projects like a louvered pergola, precise post alignment ensures the rotating louvers operate smoothly and prevents long-term stress on motorized mechanisms.
3.2 Attaching Beams and Cross Members in Sequence
After the posts are plumb, I attach the main beams in sequence to create a rigid frame. I start with the longest span to lock in overall squareness, then add cross members progressively. This prevents the frame from racking under its own weight.
Key details:
-
Lift each beam carefully using a partner or mechanical lift.
-
Temporarily secure with clamps or ratchet straps.
-
Pre-check each bolt hole before final tightening.
I maintain beam spacing consistent with louver installation requirements; even a 5 mm variation across spans can affect roof motion later. The sequence ensures every beam locks into place without forcing alignment adjustments.
3.3 Verifying Squareness and Tightening Fasteners
Once all beams and cross members are in position, I measure diagonals at multiple points to confirm the structure is square. I often use a tape measure along opposite corners—if the measurements differ by more than 5 mm, I adjust clamps or shim posts before final tightening.
Final fastener process:
-
Hand-tighten bolts initially to keep slight adjustability.
-
Recheck all alignments, squareness, and level.
-
Fully torque nuts in a systematic sequence to distribute tension evenly.
This careful process guarantees the frame is stable and ensures any aluminum pergola house or motorized louver installation will sit correctly on top, preventing binding or twisting during operation.
4. Roof System Installation
4.1 Installing Fixed Panels, Louvers, or Tracks
Begin by laying out all roof components in their intended positions. For adjustable or motorized systems, I always verify each louver or panel is oriented correctly to prevent interference when operating.
Installation steps:
-
Position fixed panels or track rails on the previously aligned beams.
-
Check spacing between louvers or panels according to manufacturer specifications—typically 30–50 mm between adjustable louvers to ensure smooth operation.
-
Secure temporary clamps before final fastening to allow minor adjustments.
For projects like a louvered pergola, following the correct sequence ensures that louvers pivot freely without rubbing against adjacent components or the frame.
4.2 Aligning and Securing Roof Components
After preliminary placement, alignment is critical. Misalignment can lead to uneven loads, causing stress on both the aluminum frame and motorized mechanisms.
Alignment process:
-
Use a laser level or string line across multiple points to ensure consistent height and parallel spacing.
-
Adjust each panel or louver individually to maintain uniform gaps.
-
Tighten all bolts and fasteners gradually, alternating corners to prevent twisting.
Proper alignment also prevents premature wear on motors or hinges if you’re installing a motorized system like a Aluminum motorized pergola.
4.3 Testing Movement on Adjustable or Motorized Roofs
Before completing the installation, test all moving components multiple times. This step confirms smooth operation and identifies any points of friction.
Testing workflow:
-
Operate louvers or retractable panels through their full range.
-
Observe for rubbing, binding, or uneven rotation.
-
Make minor adjustments to pivot points, track alignment, or motor tension as needed.
-
Re-torque fasteners that were loosened during alignment corrections.
Consistent testing ensures longevity, and a correctly installed aluminum pergola house roof moves smoothly, even under heavy wind or seasonal loads, avoiding costly adjustments later.
Completing a Step-by-Step Aluminum Pergola House Installation requires careful planning, precise measurements, and methodical assembly. By following structured steps—pre-installation planning, foundation setup, frame assembly, roof system installation, and accessory integration—you ensure a durable and fully functional outdoor structure. Attention to detail during each phase reduces errors, protects materials, and guarantees smooth operation for motorized or adjustable features, making your pergola a lasting, elegant addition to your outdoor space.